
Tools
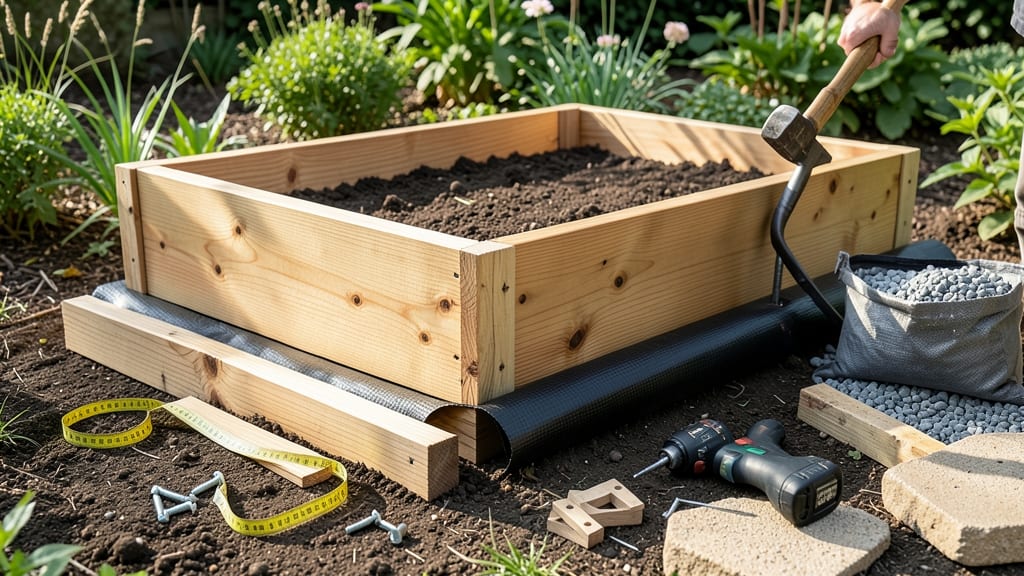
Planning a 2x4 raised garden bed is your ticket to a low-maintenance, high-yield growing space that lasts for years.
Picture this: no more bending over to weed or till hard soil, just a sturdy frame where you control the dirt, the drainage, and even the height to fit your back.
That’s the magic of a well-built raised bed—and I’ve got the exact free cut list and step-by-step guide to make it happen, even if you’re new to tools.
Whether you’re growing veggies for the first time or upgrading your garden layout, these plans break down the materials, tools, and assembly tricks to avoid common mistakes like crooked corners or wobbly frames.
No guesswork, just a clear roadmap to a bed that’s ready for planting in a weekend.
Inside, you’ll find dimensions for 4x8, 4x4, or custom sizes, pro tips for durability, and ways to tweak the design for trellises, dividers, or even self-watering setups. Let’s get started—your garden’s future is just a few cuts away.
Free 2x4 raised garden bed cut list: exact dimensions for 4x8, 4x4, and custom sizes
Building a 2x4 raised garden bed starts with precise measurements to ensure stability and longevity. These free cut lists cover the most popular sizes—4x8 feet and 4x4 feet—plus customization tips for different heights.
Whether you're growing vegetables, herbs, or flowers, these dimensions keep your bed sturdy and accessible.
For a standard 4x8-foot bed with 2-foot-high walls, you'll need 16 boards (8 for length, 8 for width). Adjust the height by adding or subtracting 2x4 vertical posts—common options are 2 feet, 3 feet, or 4 feet tall.
I’ll break down the exact cuts for each size, including notched corners and angled corner brackets for extra reinforcement.
For a 4x8-foot bed, the longest boards (7 feet 11 inches) run along the 8-foot sides, while the shorter boards (3 feet 11 inches) form the 4-foot ends.
This ensures a snug fit at the corners. If you’re using angled brackets instead of notches, add 4 extra 2x4s (one for each corner) to create the angled supports.
Pro tip: Use pressure-treated lumber for longevity, but avoid cedar if you’re growing acid-loving plants like blueberries—it’s naturally resistant to rot but can alter soil pH. For a cost-saving hack, consider 2x6 boards instead of 2x4s—they’re wider, reducing the need for extra corner supports.
When cutting, mark each board with a pencil and use a circular saw or miter saw for clean cuts. For 3-foot-tall beds, add two vertical 2x4 stakes per corner to reinforce the structure. This extra height is ideal for wheelchair accessibility or planting deep-rooted crops like tomatoes.
For custom-sized beds, calculate the perimeter first, then divide by 8-foot boards to minimize waste. For example, a 3x6-foot bed would need 6 boards (3x5'11", 3x3'11") plus 4 corner posts. Always round up to the nearest full board length to avoid gaps.
One common mistake is skipping the notches or brackets, which can cause the bed to warp over time. If you’re new to woodworking, pre-assemble the corners on the ground before lifting the bed into place. This ensures square alignment and prevents uneven settling.
To save money, buy lumber in 8-foot lengths and cut it yourself—most home improvement stores offer discounts on bulk purchases. For example, 8x 2x4s cost significantly less per board than pre-cut pieces. Just be sure to sand the edges to prevent splinters when handling.
Once your cuts are complete, pre-drill holes at the corners to prevent wood from splitting when you screw the pieces together. Use deck screws (2.5 inches long) for outdoor durability. For extra stability, add horizontal braces halfway up the sides if your bed is taller than 3 feet.
🌱
Step-by-step 2x4 raised garden bed assembly guide with pro tips
A 2x4 raised garden bed is one of the most rewarding DIY projects for gardeners—it gives you control over soil quality, drainage, and accessibility while keeping weeds at bay.
For this guide, we’ll focus on building a 4x8-foot bed using untreated 2x4 lumber, which is budget-friendly and sturdy enough for years of growing. The key to success lies in precise measurements, proper corner reinforcement, and avoiding common pitfalls like uneven edges or weak joints.
Before you start, gather your essential tools: a circular saw or handsaw, drill with 2.5-inch deck screws, speed square, measuring tape, pencil, and safety gear (gloves, goggles). I recommend pre-drilling screw holes to prevent wood splitting—a mistake that even experienced builders make.
Let’s break this down into clear, actionable steps to ensure your bed is level, stable, and ready for planting.
🛠️ Step-by-Step Assembly Guide
- 1
- 2
- 3
- 4
- 5
- 6
Pro tip: If you’re building multiple beds, use identical screws and pre-drill all holes to save time. I’ve also found that elevating the bed on cinder blocks improves airflow and drainage underneath.
Once assembled, your raised bed will be ready for planting in just a few hours—no heavy lifting required!
Avoid these common mistakes: Skipping the level check can lead to water pooling, while using rusty screws may contaminate your soil. Always space beds at least 2 feet apart for easy access and airflow between plants.
With this guide, your 2x4 raised garden bed will be a durable, low-maintenance growing space for years to come.