
Planting
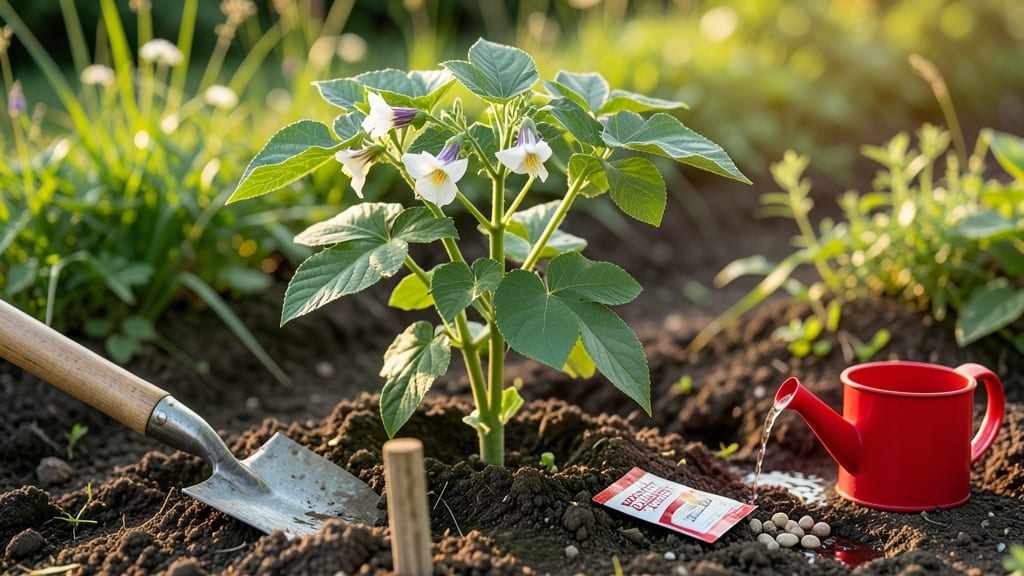
To plant string beans in a garden, start by sowing seeds 1 inch deep in warm soil after your last frost date—this simple step is the foundation of a bountiful harvest.
Picture this: you’re staring at a patch of empty soil in early spring, wondering if your beans will ever grow. The truth is, string beans are one of the easiest vegetables to grow, but only if you nail the basics—like spacing, sunlight, and a little trellis magic.
Whether you’re a first-timer or a seasoned gardener, getting the depth, distance, and support right can turn a mediocre patch into a thriving, high-yielding bean factory. I’ll walk you through the exact spacing, soil prep, and trellis tricks that make all the difference.
By the end, you’ll know exactly when to plant, how to keep them climbing, and the early care secrets that prevent common mistakes—so you can enjoy fresh, crisp pods from June through September.

Perfect string bean planting guide: ideal depth, spacing & soil conditions for maximum yield
String beans thrive when planted with precision—getting the depth, spacing, and soil conditions right ensures strong germination and abundant harvests.
Unlike many vegetables, these legumes are surprisingly forgiving, but small details like soil temperature and moisture balance make all the difference between a few sad pods and a garden overflowing with fresh beans. Let’s break down the exact techniques that’ll turn your garden into a bean bonanza.
First, timing is everything. String beans need warm soil—at least 60°F (15°C)—to germinate properly. If you plant too early, seeds may rot in cold, damp soil.
Wait until your region’s last frost date has passed (typically 2-3 weeks after April 15 in Zone 6a) and soil temps are consistently warm. A simple soil thermometer can confirm readiness, or press your hand into the soil: if it feels warm like a sunny sidewalk, it’s time to plant.
Now, let’s talk planting depth. Unlike many seeds, string beans should never be buried too deep. Aim for 1-2 inches deep, with the larger end of the seed down. This shallow placement ensures they won’t struggle to reach the surface.
Use your finger to create small holes—just deep enough to nestle the seeds without compacting the soil around them. A light sprinkle of compost over the seeds adds nutrients without smothering them.
Here’s where many gardeners go wrong: spacing. Crowding plants leads to poor air circulation, which invites diseases like powdery mildew. For bush beans, space seeds 4-6 inches apart in rows that are 18-24 inches apart.
If you’re growing pole beans, you can plant them slightly closer—3-4 inches apart—since they’ll climb a trellis. Mark your rows with stakes or a string line to maintain even spacing, especially if you’re planting multiple varieties.
Don’t overlook soil preparation. String beans prefer well-draining, loamy soil with a pH between 6.0 and 7.0. If your soil is heavy clay or sandy, amend it with compost or aged manure before planting.
A handful of bone meal or phosphate fertilizer at planting time encourages strong root development. Avoid fresh manure, which can burn seeds and seedlings.
Once seeds are in the ground, consistent moisture is key. Water lightly after planting to settle the soil, then maintain 1 inch of water per week, especially during dry spells.
Use a drip irrigation system or soaker hose to deliver water directly to the soil—avoid overhead watering, which can spread diseases. Mulch around plants with straw or grass clippings to retain moisture and suppress weeds, which compete for nutrients.
Watch for common planting mistakes that can derail your harvest. Overcrowding is a top offender—tightly packed plants struggle to breathe and develop weak stems. Another pitfall is planting too deeply, which can cause seeds to rot before sprouting.
If your soil feels compacted, loosen it gently with a hand trowel before planting. Also, avoid planting beans in the same spot year after year, as this depletes nitrogen and invites pests.
Finally, patience pays off. String beans typically germinate in 7-14 days, depending on soil warmth. Thin seedlings to the recommended spacing once they’re 2-3 inches tall, snipping weaker stems at the base with clean scissors.
This might seem harsh, but it ensures stronger plants with more room to grow. Within 55-65 days, you’ll be harvesting tender pods—just don’t let them get too large, or they’ll turn woody and tough.
With these precision planting techniques, your string beans will thrive from seed to harvest. The secret? Paying attention to the details—depth, spacing, soil, and moisture—so your plants can focus on what they do best: growing delicious, homegrown beans. Happy gardening! 🌱
When & how to use trellises for string beans: step-by-step setup for vertical growth
Trellising your string beans isn't just about saving garden space—it dramatically improves air circulation and reduces disease risks like powdery mildew. Pole beans naturally climb, producing longer pods and higher yields when supported.
The best time to install trellises is 2-3 weeks after your last frost, when soil reaches 60°F+ and seedlings are 3-4 inches tall. For USDA Zone 6a, this typically means late April to early May.
You have three great material options: bamboo stakes (affordable and sturdy), wire mesh trellises (durable for years), or A-frame designs (ideal for small gardens). My favorite is a 6-foot bamboo teepee—it’s easy to assemble and gives beans plenty of climbing room.
Avoid plastic trellises, as they can overheat in summer sun and damage delicate vines. Always position trellises along the north side of your garden to prevent shading younger plants.
5-Step Trellis Setup for Pole Beans
-
Step 1: Choose Your Trellis Location
Select a sunny spot with well-draining soil. Mark a 3-foot wide area for each trellis to allow easy access for harvesting. -
Step 2: Assemble the Trellis Frame
For a bamboo teepee, tie 4-6 6-foot stakes at the top with jute twine. Space stakes 12 inches apart at the base for stability. -
Step 3: Plant Seeds Near the Trellis
Sow 4-5 seeds in a small circle 6 inches from the trellis base. Cover with 1 inch of soil and water gently to settle. -
Step 4: Guide Vines as They Grow
Once seedlings are 3 inches tall, gently weave vines through trellis gaps. Use soft garden twine to secure any wandering stems. -
Step 5: Maintain Support Weekly
Check for loose vines every 7-10 days. Add extra twine if beans outgrow the trellis or if wind causes tangling.
🌱 Pro Tip: Train 2-3 main vines per trellis to maximize space—prune extras to focus energy on strong climbers.
Don’t wait until beans are already sprawling to install trellises—early support prevents broken stems and encourages upward growth. If you’re using wire trellises, add horizontal crossbars every 12 inches to give vines handholds.
For A-frame designs, angle the structure slightly toward the south to catch morning sunlight, which jumpstarts photosynthesis.
Regular maintenance is key: tighten loose ties every 2 weeks and remove tangled vines to prevent disease spread. By mid-summer, your trellised beans will produce 2-3 times more pods than bush varieties, all while keeping your garden beds tidy. The vertical growth also makes harvesting a breeze—no more bending over!
Remember, pole beans are heavy climbers, so reinforce trellises if you live in a windy area or experience heavy rain. With the right setup, you’ll enjoy continuous harvests from June through September, even in small gardens. Happy trellising! 🌿