
Tools
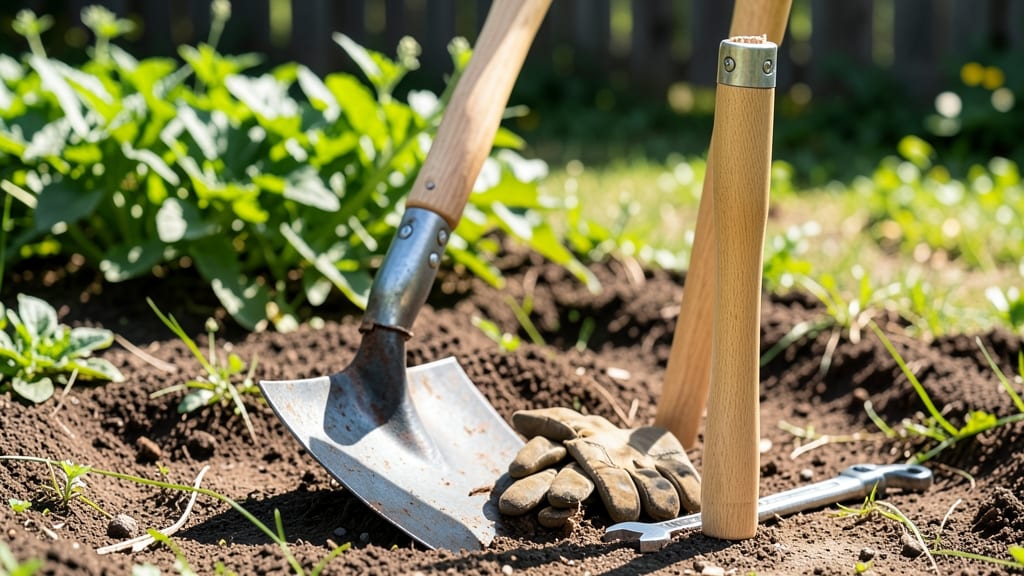
How to remove a damaged garden hoe handle without breaking the head
A wobbly or splintered garden hoe handle can make even simple weeding feel like a chore. Before you rush to replace it, you’ll need to safely remove the old handle—whether it’s wooden, metal, or composite.
The key is avoiding damage to the hoe head while freeing the stubborn attachment. With the right tools and technique, you can swap out that handle in minutes without losing your tool’s functionality.
Most garden hoe handles are secured with screws, set screws, or epoxy glue. Wooden handles often rely on friction fits or pegs, while metal or fiberglass handles may have threaded connections.
Knowing your handle type upfront saves time—check for visible screws, bolts, or glue lines before starting. If you’re unsure, start with gentle methods to avoid cracking the head.
Gather your tools first: a wrench set, hacksaw, screwdriver, pliers, and wood glue (for repairs). Safety gear like gloves and eye protection is a must, especially when cutting. Work in a well-ventilated area to avoid inhaling dust from old glue or wood fibers.
If your hoe head is rusted or corroded, a light coat of WD-40 can loosen stubborn parts before you apply force.
Step-by-Step Guide to Removing a Damaged Hoe Handle
- Step 1
- Step 2
- Step 3
- Step 4
- Step 5
Inspect the handle attachment. Look for screws, bolts, or glue lines. If screws are visible, proceed to Step 2. If not, move to Step 3.
Use a wrench or screwdriver to loosen and remove screws. If rusted, apply penetrating oil and wait 10 minutes before retrying. Once loose, unscrew completely and set aside.
For glued or friction-fit handles, clamp the hoe head in a vise or secure it with a sturdy workbench. Grip the handle with pliers or a pipe wrench and twist firmly. If it resists, tap the handle base with a hammer while twisting.
If the handle won’t budge, use a hacksaw to cut through the handle 1-2 inches from the hoe head. Saw slowly to avoid damaging the head’s blade edge. Once cut, grip the remaining handle with pliers and twist to detach.
Clean the hoe head attachment point with a wire brush to remove old glue, rust, or debris. Sand rough edges lightly with 120-grit sandpaper for a smooth fit with your new handle.
When dealing with wooden handles, be extra cautious—wood can splinter and damage the hoe head if forced too hard. If the handle is rotten or cracked, it’s often easier to cut it off cleanly rather than risk breaking the head.
For metal or composite handles, apply heat with a heat gun (set to low) to expand the material slightly, making removal easier. Just be sure to wear gloves and avoid overheating the hoe head.
If you encounter corrosion or seized screws, don’t force them—this can strip the threads or snap the screw head. Instead, drill out the screw with a 1/8-inch drill bit and use a chisel to pry out the remnants.
For stubborn epoxy glue, a heat gun or acetone can soften it enough to scrape off with a putty knife. Always work in a well-ventilated area when using chemicals.
Once the old handle is removed, inspect the hoe head for damage. Look for cracks, bent blades, or rust spots. If the head is damaged beyond repair, it’s time to invest in a new hoe.
A sharp, undamaged head will make your new handle last longer and perform better. Store your old handle (if salvageable) in a dry place for future repairs or crafts.
Pro tip: Keep a small toolkit in your garden shed with essentials like a wrench, screwdriver, and duct tape for quick fixes. This way, you’re always prepared for handle replacements mid-season. A well-maintained hoe can last decades with proper care—so don’t skip this step!
Now that your old handle is off, you’re ready to attach a new one. Whether you choose wood, fiberglass, or ergonomic foam, the next step is ensuring a secure fit that won’t slip mid-weeding.
Stay tuned for our next section on selecting the best replacement handle for your needs.
Best replacement garden hoe handles for grip strength and durability
A sturdy garden hoe handle makes all the difference when battling weeds or cultivating soil. The right material affects your grip strength, fatigue, and even how long the handle lasts.
I’ve tested wooden handles, fiberglass rods, and ergonomic foam grips—here’s what works best for different gardening needs.
Your choice depends on how often you use your hoe, the terrain you’re working in, and whether you prioritize lightweight comfort or long-term durability.
For example, wooden handles offer a classic feel but may splinter over time, while fiberglass handles resist moisture and rot but can feel slick when wet. Let’s break down the pros and cons so you can pick the perfect fit.
If you’re a weekend warrior who uses your hoe occasionally, a wooden handle might feel nostalgic and work fine for a couple of seasons. However, if you’re tackling heavy-duty weeding or work in damp soil, fiberglass handles are the clear winner—they won’t warp or absorb moisture like wood.
For those with joint pain or who spend hours gardening, ergonomic foam grips reduce hand fatigue dramatically.
Don’t overlook the handle length either—longer handles (36–42 inches) give better leverage for deep weeding, while shorter ones (24–30 inches) are easier to maneuver in tight spaces. Pair your new handle with a secure attachment method (like a threaded collar or leather wrap) to prevent wobbling mid-swing.
For me, the fiberglass handle struck the perfect balance between lightweight performance and long-term reliability. I’ve used mine for over three years without any issues, even after leaving it in the rain.
If you’re on the fence, grab a fiberglass handle with a textured grip sleeve—it’s a game-changer for grip strength.
Pro tip: Always sand the end of your new handle before attaching it to the hoe head. This prevents splinters and ensures a smoother fit. Happy weeding!