
Picking
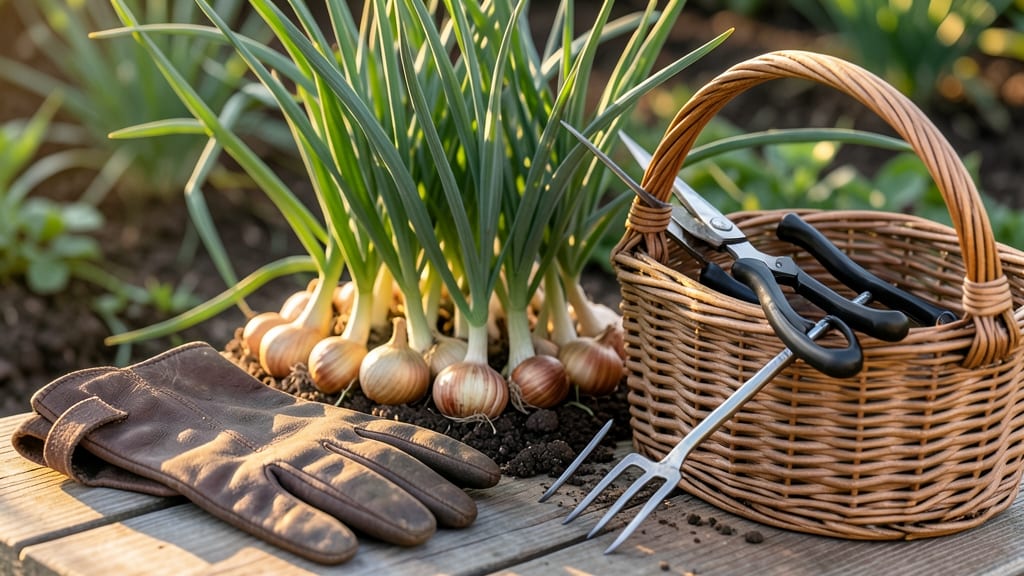
Harvesting shallots from your garden at the right time means the difference between tiny, puny bulbs and plump, flavorful harvests that rival store-bought.
Picture this: you’ve nurtured your 🧅 shallots all season, watching them grow from tiny cloves into lush green tops, only to pull them too soon—or too late—and end up with disappointing results.
The key? Timing your harvest when the tops yellow and the bulbs reach 1-2 inches in diameter, usually between August and September in Zone 6a.
Why does this matter? Because shallots store their energy in the bulbs as the foliage dies back, and harvesting too early robs you of size and flavor. I’ve made that mistake more times than I’d like to admit—only to learn the hard way that patience pays off in the kitchen.
In this guide, I’ll walk you through the exact signs to watch for, the best tools to use, and how to cure and store your harvest so you can enjoy homegrown shallots all winter long. Let’s get started.


When to harvest shallots for largest bulbs: exact timing guide
Harvesting shallots at the perfect moment transforms your garden into a treasure trove of flavor-packed bulbs instead of small, underdeveloped specimens. Unlike onions, shallots mature gradually, and their harvest window is narrow—miss it, and you’ll end up with tiny cloves.
The key lies in understanding seasonal cues, leaf color changes, and how your region’s climate affects maturity.
For most gardeners in USDA Zones 5-8, shallots reach peak harvest readiness between late summer and early fall, typically 100-120 days after planting.
However, spring-planted shallots in cooler climates (like Zone 4) may mature earlier, around mid-to-late July, while southern regions (Zones 9+) can extend harvests into October. The difference? Temperature and daylight—shallots need warm soil but cooling nights to trigger bulb swelling.
Here’s the game-changer: Don’t rely solely on days after planting.
Instead, watch for these three critical visual cues that signal it’s time to harvest:
- Yellowing foliage that starts at the tips and works downward
- Dry, papery skins forming around the bulbs
- Bulbs reaching 1-2 inches in diameter (about the size of a golf ball) When you see all three, your shallots are ready—act within 3-5 days to avoid over-maturity.
🌱
Spring-planted shallots often mature faster than fall-planted ones, so monitor your garden closely in late summer. If your area experiences hot, dry spells, shallots may mature prematurely—watch for premature yellowing as a sign to harvest sooner. Conversely, cool, wet summers can delay maturity, pushing harvests into early fall.
Pro tip: Gently squeeze a bulb through the soil to check firmness. If it feels soft or hollow, it’s overripe; if it’s rock-hard, it’s underdeveloped.
The perfect shallot should yield slightly when pressed but not feel mushy. Timing is everything—harvest too early, and you’ll sacrifice size; too late, and you risk bolting or splitting.
Regional adjustments matter more than you’d think. Gardeners in Pacific Northwest (Zone 7-8) often harvest in late August due to cooler summers, while those in Texas (Zone 8-9) can extend harvests until mid-October.
Use your last frost date as a guide: aim to harvest 4-6 weeks before the first frost to avoid bulb damage. In short-season areas (Zone 3-4), consider planting early-maturing varieties like ‘Red Creole’ or ‘French Grey’ for a reliable harvest.
One common mistake? Assuming all shallots mature at once. In reality, bulbs in a single patch may ripen 1-2 weeks apart. To maximize yield, harvest in stages: pull the largest bulbs first, leaving smaller ones to mature.
This staggered approach ensures you get a continuous harvest and reduces waste. Plus, it gives you flexibility to replant succession crops in the vacated space.
🌿
Don’t overlook the role of soil conditions in harvest timing. Shallots grown in rich, well-draining soil with
How to harvest shallots without damaging future crops: step-by-step method
Harvesting shallots at the right time ensures large, flavorful bulbs while protecting your garden for next season. The key is gentle extraction—avoiding aggressive pulling that can damage roots or leave behind diseased plants.
I’ve learned through trial and error that timing and technique make all the difference between a bountiful harvest and wasted effort.
Start by gathering your essential tools: a sharp garden fork, pruning shears, and a bucket for storage. Work on a dry, sunny day to minimize soil sticking to bulbs and reduce disease risk.
The goal is to preserve root systems so shallots can regrow if you choose to save seeds or replant.
Use a garden fork to work around the outer edges of the plant, about 6 inches away. Aim to disrupt roots minimally—this helps bulbs detach cleanly.
Grasp the base of the foliage and pull upward gently. If resistance occurs, wiggle slightly—never force the bulb. Over 60% of bulbs break if pulled too hard.
Inspect each bulb for soft spots or cuts. Discard any damaged shallots immediately—they won’t store well and may spread rot. Save healthy bulbs with intact roots for replanting.
Cut the green tops back to 1-2 inches above the bulb using clean pruning shears. This reduces moisture loss during curing and prevents disease.
Spread shallots in a single layer on a dry, well-ventilated surface (like a mesh screen) for 2-3 weeks. Keep them in a shady, dry spot with temps between 60-70°F.
Once cured, store shallots in a cool (40-50°F), dark place with good airflow. Use mesh bags or paper sacks—plastic traps moisture and causes rot. They’ll keep for 3-6 months.
Save the largest, healthiest bulbs for replanting. Separate them into individual cloves, let them dry for a day, then plant in well-draining soil 2 inches deep. This ensures a continuous harvest for years.
After harvesting, I always set aside 10-15% of my best bulbs for replanting. This ensures a renewable supply without buying new seeds each year. If you notice smaller bulbs in subsequent harvests, it’s a sign you’re over-harvesting—leave at least 30% of plants to mature fully.
One common mistake I’ve seen is harvesting when soil is wet, which causes bulbs to stick and break. Always wait for dry, sunny conditions—this also helps prevent fungal diseases like shallot rot.
For extra protection, I add a light layer of straw mulch around replanted cloves to retain moisture without suffocating roots.
With these steps, you’ll enjoy plump, flavorful shallots while keeping your garden productive for seasons to come. The secret? Patience and precision—never rush the harvest, and always prioritize the health of your future crop. 🧅