
How To
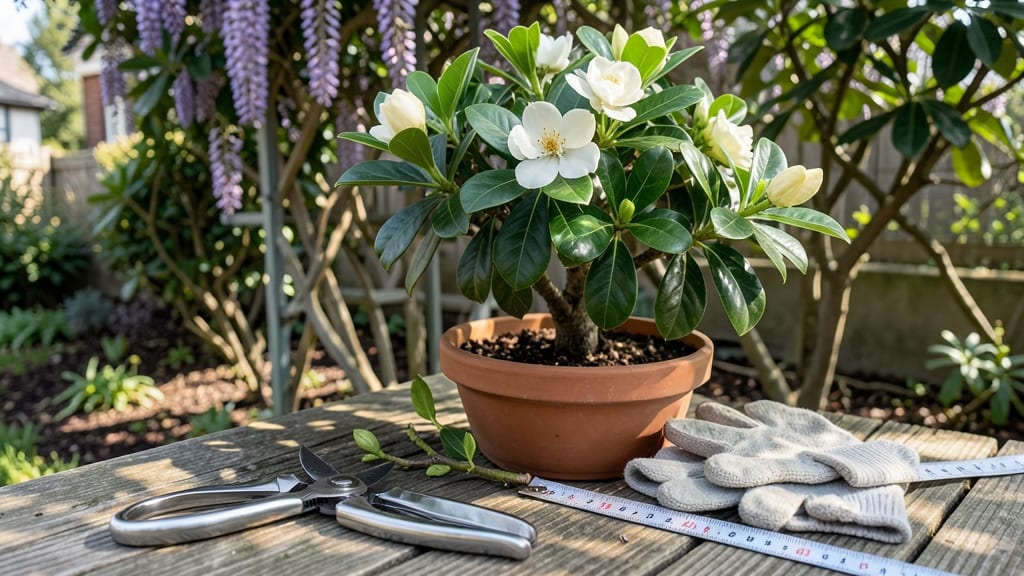
You can cut back gardenias safely by up to one-third of their foliage without risking dieback — the trick is timing, technique, and knowing where to make those cuts.
Struggling to keep your gardenias blooming beautifully? The key might be in your pruning technique—cutting them back too much or too little can stifle their growth and flowering potential.
Gardenia 🌸 thrive when pruned correctly, but many gardeners overdo it, leaving bare stems or stressed plants that struggle to rebound. The right approach not only keeps your shrubs healthy but also encourages lush, fragrant blooms for seasons to come.
Below, I’ll walk you through the exact pruning rules—when to trim, how much to remove, and the tools you’ll need—to revive your gardenias and set them up for a stunning display next year.
Safe pruning limits for gardenias: how far back you can trim without harming the plant
Pruning gardenias correctly is essential to maintain their health and encourage abundant blooms. The golden rule for pruning these delicate shrubs is to never remove more than one-third of the plant's foliage in a single session.
Over-pruning can stress the plant, reduce flowering, and even lead to dieback. Gardenias are sensitive to aggressive cuts, so precision and patience are key to keeping them thriving.
When you prune, focus on shaping the shrub and removing dead, diseased, or crossing branches first. These cuts can be more aggressive, but limit them to 10-15% of the plant's total growth to avoid shocking the gardenia.
Always prioritize the plant's health by targeting weak or problematic stems before making aesthetic cuts. This approach ensures you stay within safe pruning limits while improving the plant's overall structure.
| Pruning Rule | Maximum Cut | Best Time | Purpose |
|---|---|---|---|
| Total Foliage Removal | 1/3 of plant | Late winter/early spring | Rejuvenate growth |
| Dead/Diseased Branches | 10-15% of plant | Year-round (as needed) | Prevent disease spread |
| Crossing/Overlapping Branches | Up to 20% of growth | After flowering season | Improve airflow |
| Light Shaping Cuts | 5-10% of plant | Spring or fall | Maintain shape |
| Cut Location | Just above leaf node | Always | Encourage new growth |
Where you make the cut matters just as much as how much you remove. Always prune just above a leaf node or outward-facing bud to encourage new growth in the right direction.
Cutting too close to a node can leave a stub that may rot, while cutting too far above can remove potential growth points. Use clean, sharp pruners to make 45-degree angles about 1/4 inch above the node for the best results.
Signs of over-pruning include bare stems, delayed blooming, or yellowing leaves. If you've already cut back too much, don't panic—focus on reducing stress by providing extra water, avoiding fertilizer, and keeping the plant in partial shade until new growth appears.
Gardenias are resilient, but they need time to recover from aggressive pruning.
Timing is another critical factor. The best time to prune gardenias is in late winter or early spring, just before new growth begins. This allows the plant to recover and establish strong branches before the blooming season.
Avoid heavy pruning in fall, as this can stimulate tender new growth that won't survive winter frosts.
For mature gardenias that need rejuvenation, you can perform a gradual pruning plan over 2-3 years. Each year, remove up to 1/3 of the oldest wood while keeping the plant's overall shape intact.
This method prevents shock while still encouraging younger, more vigorous growth. Always step back and assess the plant's structure before making cuts to ensure you're staying within safe limits.
Remember that gardenias bloom on new wood, meaning pruning too late in the season can reduce next year's flowers. If you must prune after the blooming season, limit cuts to light shaping and deadwood removal only.
This approach balances the plant's need to set buds for the following year while maintaining its health.
To summarize, the key to safe gardenia pruning is moderation, precision, and timing. By following the one-third rule, cutting at the right angles, and pruning at the optimal times, you'll keep your gardenias looking their best while encouraging vibrant blooms for years to come. 🌸
Step-by-step guide to pruning gardenias for maximum blooms
Pruning your gardenias correctly is the secret to encouraging lush, fragrant blooms year after year. The key is understanding how far you can safely cut back without stressing the plant or sacrificing next season’s flowers.
Gardenias thrive when pruned to maintain their shape while promoting airflow and sunlight penetration—both critical for healthy growth. With the right technique, you can revitalize leggy shrubs and trigger abundant flowering.
Before grabbing your pruners, gather your tools: sterilized bypass pruners, sharp hand pruners for smaller cuts, and rubbing alcohol (70% or higher) to disinfect tools between cuts. Sterilizing prevents bacterial and fungal infections, which gardenias are particularly susceptible to.
Always prune on a dry, sunny day to minimize stress on the plant and reduce the risk of disease transmission through open wounds.
Step 1: Identify the Pruning Zone
Never remove more than one-third of the plant’s foliage in a single pruning session. For mature gardenias, this means cutting back no more than 12-18 inches from the top or outer branches, depending on the shrub’s size.
Step 2: Locate the Leaf Nodes
Make cuts just above a leaf node (the small bump where leaves or branches emerge). This encourages new growth from the node. Avoid cutting into old wood or bare stems, as gardenias struggle to regrow from these areas.
Step 3: Shape for Airflow and Sunlight
Thin out crossing or crowded branches to improve airflow, reducing humidity-related diseases like powdery mildew. Aim for an open, vase-like shape to allow sunlight to reach the inner foliage, where buds form.
Step 4: Sterilize Cuts Immediately
After each cut, dip your pruners in rubbing alcohol and wipe the blade with a clean cloth. Then, apply a cinnamon or sulfur-based fungicide to the cut ends to prevent infections. This step is non-negotiable for gardenias!
Step 5: Clean Up and Mulch
Remove all pruned branches from the area to prevent pests or diseases from lingering. Spread a 2-inch layer of acidic mulch (like pine bark) around the base, keeping it 3 inches away from the trunk to retain moisture and regulate soil temperature.
One of the most common mistakes gardeners make is pruning at the wrong time of year. Avoid heavy pruning in late summer or fall, as this can stimulate new growth that won’t harden off before winter.
Instead, focus on light shaping after flowering (late spring to early summer) and rejuvenation pruning in late winter or early spring, just as new growth begins.
If your gardenia looks overgrown or leggy, you can perform a renewal pruning in late winter by cutting back up to half of the oldest, woody stems to the ground. This drastic measure encourages vigorous new growth, but only attempt it every 3-5 years to avoid shocking the plant.
Pair this with a balanced acidic fertilizer (like 10-10-10) in early spring to support recovery.
Finally, keep an eye out for signs of over-pruning, such as bare stems, sparse foliage, or delayed blooming. If you’ve cut too aggressively, your gardenia may take a season or two to recover.
Be patient, maintain consistent care, and avoid pruning again until you see new growth emerging from the nodes. With time, your gardenia will bounce back with even more stunning blooms! 🌸✂️🌿