
How To
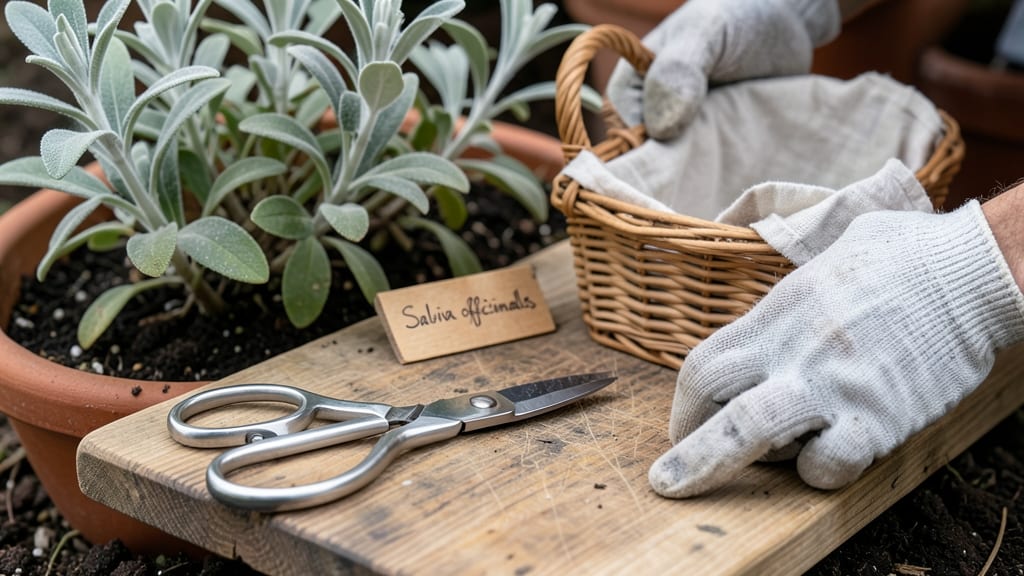
Harvesting garden sage at the right time means bold, fragrant leaves every time — and skipping the bitter disappointment that comes when you wait too long.
Picture this: you’ve nurtured your 🌿 sage all season, and now it’s standing tall, ready to flavor your dishes. But harvest it too early, and the flavor is weak; too late, and it turns bitter.
The key is knowing exactly when to snip for peak flavor while keeping your plant happy for years to come.
Timing is everything, and it starts with recognizing the perfect moment—just before flowering, when the leaves are fully developed and aromatic. I’ll walk you through the exact signs to look for, plus how to prune without stunting your plant’s growth.
From drying bundles to freezing sprigs, you’ll also discover the best ways to store your harvest so the flavor lasts. Let’s get started—your kitchen (and your sage) will thank you.


When to harvest garden sage for peak flavor and optimal regrowth
Timing your sage harvest is everything—cut too early, and you’ll get weak, underdeveloped leaves. Harvest too late, and the flavor shifts bitter as the plant prepares to flower. The sweet spot? Late summer to early fall, when your sage has matured but hasn’t yet sent up flowering stems.
This window ensures maximum essential oils (the compounds that give sage its signature aroma) while allowing your plant to recover and regrow.
For first-year plants, aim to harvest between 90 to 120 days after transplanting, when the plant reaches 6–8 inches tall and leaves are fully developed. In subsequent years, you can harvest year-round (except during frost), but always prioritize the late summer window for the most potent flavor.
Pro tip: Morning harvests yield the freshest leaves, as essential oils peak after a full night’s rest.
Here’s how to spot the perfect harvest moment: Look for gray-green, papery leaves with a strong, earthy aroma when crushed. The stems should feel slightly woody, not soft. If you see buds forming or the plant stretching tall, it’s past prime—harvest immediately or wait until next season.
Overlooking these cues can turn your culinary sage into a bitter disappointment.
| Stage | Visual Cues | Best Time to Harvest | Flavor Impact |
|---|---|---|---|
| Early Growth (Spring) | Small, tender leaves; soft stems; weak aroma | Avoid harvesting | Mild, underdeveloped flavor |
| Mature Growth (Late Summer) | Gray-green, papery leaves; woody stems; strong aroma | Ideal harvest window | Bold, aromatic, peak flavor |
| Pre-Flowering (Fall) | Leaves slightly bitter; buds forming | Harvest immediately or wait until next season | Bitter, reduced potency |
| Post-Flowering (Late Fall) | Dry leaves; woody stems; faint aroma | Avoid harvesting | Dull, weak flavor |
| Year 2+ (Any Season) | Established woody base; new growth after pruning | Harvest as needed (avoid over-pruning) | Consistent, robust flavor |
Spring harvests are tricky because young sage leaves are still developing. If you’re harvesting in spring, focus on new growth after pruning—never take more than one-third of the plant at once. This encourages bushier regrowth and prevents stress.
In fall, the plant’s energy shifts toward survival, so harvest only what you need and avoid heavy pruning. Always leave at least 6 inches of stem to maintain the plant’s structure.
Did you know? Sage’s flavor compounds (like thujone) peak just before flowering. Once buds appear, these oils convert into bitter compounds, ruining the herb’s delicate balance. To test readiness, crush a leaf between your fingers—if it releases a strong, piney scent, it’s harvest-ready.
If it smells weak or musty, wait a few more weeks.
Container-grown sage follows the same rules but requires extra caution. Since pots limit root space, over-harvesting can stunt growth. For potted sage, harvest only the outermost stems to protect the center.
In-ground sage, however, can handle slightly more aggressive pruning—just avoid cutting into the woody base, as this can kill the plant. Always use clean, sharp pruners to prevent disease.
One common mistake? Harvesting sage after a hard frost. Cold temperatures damage the plant’s cellular structure, turning leaves brown and brittle. If frost hits, wait until spring regrowth appears before harvesting again.
Mulching around the base in late fall can protect your sage from temperature swings and extend your harvest season by a few weeks.
For medicinal-grade sage, timing is even more critical. The highest concentrations of antioxidants occur in late summer, making this the best window for harvesting if you’re using sage for teas or tinctures.
Store harvested sage in a dark, dry place to preserve its potency—more on storage in our next section!
Pro tip: Mark your calendar for late August each year—this is when most common sage varieties (like Salvia officinalis) reach their flavor peak. Set a reminder to harvest before the first frost, and your garden will reward you with years of abundant, aromatic sage. Happy harvesting! ✂️🌿
Step-by-step guide to harvesting sage without killing your plant
Harvesting your garden sage correctly ensures a bold flavor and encourages bushier regrowth. The key is timing and technique—cutting too much or at the wrong stage can stress your plant.
Whether you're growing container sage or in-ground varieties, follow these steps to maximize your harvest while keeping your plant healthy and thriving.
Before you begin, gather your tools: clean, sharp pruners or scissors (avoid dull tools that crush stems), a small basket or container for clippings, and gardening gloves if your sage is prickly. Work on a dry morning when the leaves are crisp and the essential oils are at their peak.
Never harvest more than one-third of the plant at once—this prevents shock and promotes fuller growth.
How to Harvest Sage Step-by-Step
- 1
- 2
- 3
- 4
- 5
After harvesting, your sage will send out new shoots within 2-3 weeks, especially if it’s receiving full sun and well-draining soil. If you notice slow regrowth, check for overwatering or nutrient deficiencies—sage prefers dry conditions and minimal fertilizer.
A light application of balanced fertilizer in early spring can boost vitality without overstimulating growth.
Pro tip: Label your sage varieties if you’re growing multiple types. Purple sage and golden sage have different harvest times and flavors—purple sage, for example, is best harvested in late summer for its deepest hue.
Store your fresh clippings in a paper bag in the fridge for up to 5 days or dry them for long-term use.
With the right technique, your sage plant will reward you with years of harvests, producing aromatic leaves season after season. Happy harvesting! 🌿✂️🌱