
How To
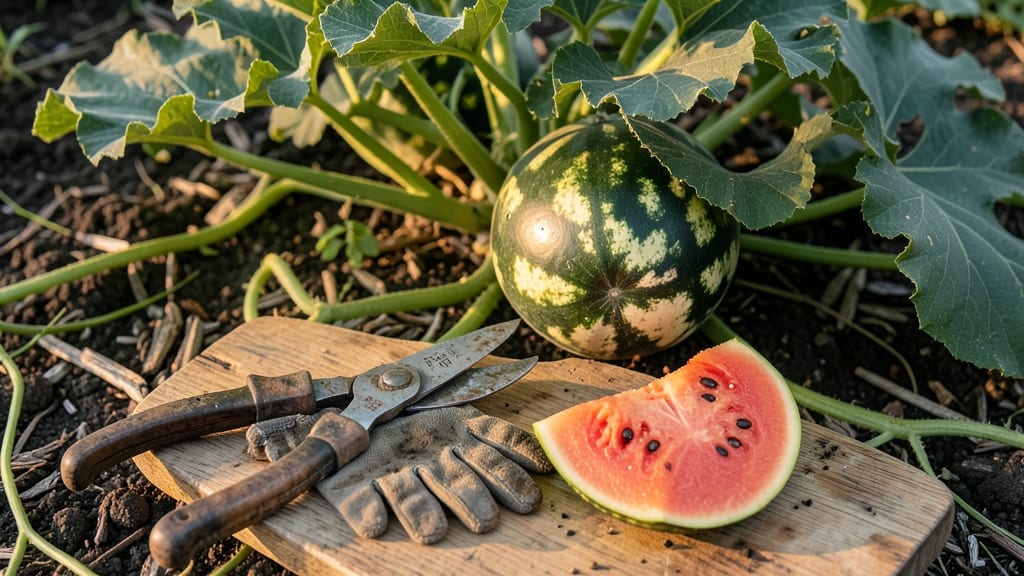
Knowing when to pick watermelon from your garden is all about reading three key signs: the field spot, the tendril, and that satisfying thump 🍉.
Nothing beats the excitement of harvesting your own homegrown watermelon—except the disappointment of cutting one open too early. You’ve nurtured these vines all season, and now the moment of truth arrives: Is it ready, or will it taste like water?
Here’s the secret: A ripe watermelon doesn’t just look perfect—it feels it. The rind turns dull, the tendril nearest the fruit dries to brown, and that classic hollow-sounding thump confirms sweetness. Miss these cues, and you’ll end up with a mealy mess instead of juicy perfection.
In this guide, I’ll walk you through the exact steps to test ripeness, from the field spot’s color shift to the thump test’s science. By the end, you’ll never second-guess harvest time again.

The thump test & 3 visual ripeness signs to harvest watermelon at peak sweetness
Harvesting a watermelon at the perfect moment means the difference between a sweet, juicy reward and a bland, watery disappointment. The classic thump test has been trusted for generations, but combining it with visual ripeness signs gives you foolproof confidence.
I’ve learned through years of gardening that ignoring even one clue can lead to overripe melons that spoil quickly or underripe ones that never develop their full flavor.
Start by checking the field spot—the yellowish patch where the melon rested on the ground. A ripe watermelon will have a fully creamy or yellow spot, while an unripe one remains white or pale.
This simple visual cue often reveals ripeness before you even touch the fruit. Pairing this with the other two key signs ensures you never miss the sweetest harvest window.
🍉 How to Know When to Pick Watermelon
Tap the melon—deep hollow sound = ripe.
Creamy/yellow = ready; white = not yet.
Nearest tendril turns brown/dry = harvest.
Hard, dull skin resists fingernail pressure.
The thump test is your auditory cue—give the watermelon a firm tap with your knuckles. A ripe watermelon produces a deep, hollow sound, almost like knocking on a wooden door. If it sounds dull or flat, it’s not ready yet.
I’ve found this test works best when the melon is at room temperature, as cooler fruits can give misleading results. Combine this with the visual cues for accuracy.
Next, examine the tendril closest to the stem. When a watermelon is ripe, this tendril will turn brown and dry, almost like a crisped leaf. I once picked a melon with a green tendril, only to find it was still weeks away from peak sweetness.
This small detail saves time and prevents wasted effort. If the tendril is still green or pliable, wait a few more days.
Finally, check the rind texture. A ripe watermelon’s skin should feel hard and dull, almost waxy to the touch. Try pressing your fingernail into the rind—if it doesn’t leave a dent, it’s ready.
Avoid picking melons with soft spots or a shiny sheen, as these indicate underripe fruit. Overripe melons, on the other hand, may develop cracks or a fermented smell near the stem.
Pro tip: Avoid harvesting in extreme heat or rainy conditions, as these can affect the melon’s flavor and texture. Early morning is ideal—cool temperatures help preserve the fruit’s quality until you’re ready to slice into that juicy perfection.
I’ve also noticed that seedless varieties often ripen slightly faster than traditional types, so adjust your timing accordingly.
One common mistake I see is relying solely on size or color. A watermelon can look big and dark green but still be bland inside. That’s why combining all four cues—the thump test, field spot, tendril color, and rind texture—gives you the most reliable results.
Trust me, your taste buds will thank you when you slice into a melon that’s perfectly ripe.
If you’re growing multiple watermelons, label them by planting date to track ripening progress. This helps you prioritize which ones to check first, especially if you’re dealing with a mix of early-season varieties and late-blooming plants.
Keep a small notebook nearby to jot down observations—you’ll start noticing patterns in your garden’s unique microclimate over time.
Remember, the best watermelons are those harvested at the peak of ripeness, not a day too soon or too late. With these visual and tactile cues, you’ll never second-guess your harvest again.
Now grab your gardening gloves, head outside, and enjoy the sweet reward of your hard work! 🌱
Watermelon ripeness timeline: how long until harvest after flowering?
Watermelons follow a predictable 70-90 day growth cycle from flowering to harvest, but environmental factors can speed up or slow down this process. Understanding these stages helps you predict when to check for ripeness signs.
After pollination, the fruit enters its rapid growth phase—expect visible expansion within 2-3 weeks. The final 3-4 weeks focus on sugar development and rind hardening.
Heat and consistent moisture accelerate ripening, while cooler temperatures or drought can extend the timeline. For example, 90°F+ days may reduce maturity to 65-70 days, while cooler climates might push it to 90+ days.
Proper soil fertility (especially potassium) also plays a critical role in timely ripening. My sugar baby watermelons often mature faster than heirloom varieties due to their smaller size and concentrated sweetness.
| Variety | Days to Maturity | Key Ripeness Cues | Growth Notes |
|---|---|---|---|
| Sugar Baby | 65-70 | Yellow field spot, brown tendril | Compact vines, fast ripening |
| Crimson Sweet | 80-85 | Dull rind, creamy stripes | Classic heirloom, needs heat |
| Seedless Hybrid | 75-80 | Deep green rind, hollow sound | Requires cross-pollination |
| Moon and Stars | 85-90 | White stripes, brown stem | Slow but sweetest |
Track your watermelon's growth by marking the day flowers appear. Use a growth journal to note temperature swings and watering patterns—these directly impact ripening speed. For example, my 2022 crop matured 10 days faster than average after a mid-July heatwave.
If vines look stressed (yellowing leaves), reduce water slightly to redirect energy to fruit development.
Environmental stress during the final 2-3 weeks before harvest can cause uneven ripening. Watch for uneven color or soft spots, which may indicate overwatering or poor pollination. In my garden, I avoid heavy watering 5 days before harvest to prevent cracked rinds.
Instead, focus on consistent moisture earlier in the season to establish strong roots.
Once you spot the first ripeness signs (like a yellow field spot), check daily. Early morning is ideal for harvesting—melons are cooler and firmer. Remember, overripe watermelons lose sweetness and develop a mushy texture, while underripe ones taste bland.
The 75-day mark is a good starting point for most varieties in optimal conditions.
Pro tip: Hang a harvest calendar near your garden with variety-specific maturity dates. Adjust your timeline by ±5 days based on your local climate. For example, Southern gardeners can expect harvests 2-3 weeks earlier than Northern growers due to longer growing seasons.
With patience and attention to these cues, you'll always know exactly when to pick that perfect, juicy watermelon!