
Picking
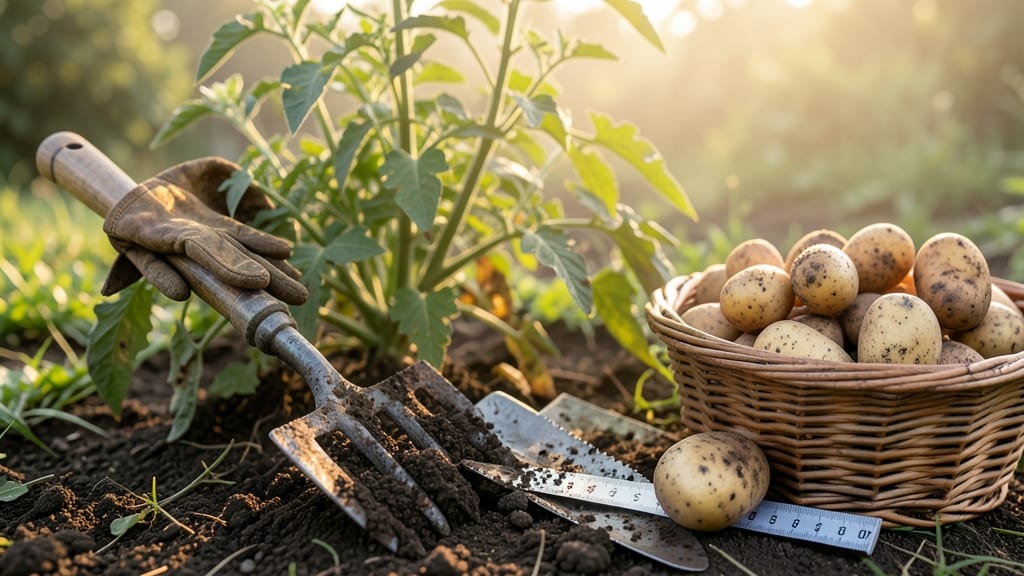
Harvesting potatoes from your garden at the right time means the difference between perfect tubers and a pile of shriveled scraps.
Digging up potatoes too early means small, underdeveloped tubers, while waiting too long risks shriveled, tough-skinned harvests—here’s how to nail the perfect timing without disturbing your soil.
Most gardeners rely on days after planting, but the truth is, your 🥔’s readiness depends more on what’s happening above ground than a calendar. Yellowing foliage, faded blooms, and firm skin are the real clues you’ve been missing.
In this guide, I’ll walk you through 4 no-dig tests to check maturity, seasonal harvest windows for your climate zone, and how to salvage a harvest gone wrong—so you end up with the best potatoes your garden has ever grown.


4 No-dig tests to determine when potatoes are ready for harvest
Timing your potato harvest is an art that balances patience with precision. Unlike many vegetables, potatoes don't give obvious visual cues until they're nearly ready—so I've developed these 4 no-dig tests that let you check maturity without disturbing your soil.
These methods work for both new potatoes and fully mature tubers, and they protect your soil structure for future plantings.
Why skip digging? Because every time you disturb the soil, you risk compacting it or exposing tubers to light (which turns them green and toxic). These tests let you assess readiness without uncovering your entire patch.
I'll walk you through each method, including what to look for and how to interpret the results—so you can harvest at peak quality every time.
🌱 4 No-Dig Tests for Perfect Potato Harvest
-
1. Leaf Yellowing Test
Check when 50% of foliage turns yellow-brown -
2. Flower Fading Test
Observe when blooms drop and stems brown -
3. Tuber Firmness Test
Press soil surface—listen for hollow "thud" -
4. Stem Browning Test
Look for 70% stem discoloration
Pro Tip: Combine tests for accuracy—most potatoes pass 3/4 tests when ready
Let's start with the leaf yellowing test, which is the most reliable indicator for most potato varieties. Begin by selecting a representative plant from each hill. Look for 50% of the foliage turning yellow-brown while the remaining leaves stay green.
This color change signals the plant is redirecting energy from leaves to tubers—a clear sign of maturity. For early varieties, this happens around 70 days after planting, while late varieties may take up to 120 days.
Next comes the flower fading test, which works particularly well for flowering varieties like Yukon Gold or Red Pontiac. Watch for when the blooms stop opening and existing flowers begin to wilt and drop. The stems will also start turning brown from the bottom up.
This test is especially useful because it gives you a 3-5 day window before the tubers reach peak size—perfect for harvesting at the ideal moment. For non-flowering varieties, skip to the next test.
For a no-dig firmness check, gently press your thumb into the soil surface around the plant's base. If you hear a hollow "thud" (rather than a solid thump), tubers are likely 2-3 inches in diameter and ready.
This test works best when soil is slightly moist—not soggy. I recommend doing this in the morning after light watering for the most accurate results. For new potatoes, you'll hear this sound earlier (around 50-60 days).
The final test focuses on stem browning, which indicates the plant is shutting down. Look for when 70% of the stems have turned brown or black from the base upward. This is your last chance to harvest before tubers start breaking down in the soil.
If you see green stems remaining, wait another 7-10 days. For storage varieties, this test is especially critical as it ensures maximum shelf life.
Here's how to combine these tests for foolproof results: On harvest day, perform all four tests. If three out of four show maturity signs, your potatoes are ready.
For example, you might see 70% stem browning, 50% yellow leaves, and a hollow thud when pressing the soil—but no dropped flowers. In this case, harvest immediately. This multi-test approach accounts for variety differences and environmental factors like rainfall or temperature fluctuations.
One common mistake I see is relying solely on days after planting. While helpful as a general guideline, it doesn't account for your specific growing conditions.
For instance, my Kennebec potatoes in USDA Zone 7 often need 10-14 extra days compared to the package's estimate due to our cooler summers. That's why these visual tests are so valuable—they give you real-time data about your specific plants.
After confirming maturity, harvest using the no-dig method: Gently loosen soil with a fork around the plant's base, then grasp the stem and lift. Avoid using a shovel to prevent cutting tubers. For large patches, harvest in sections to minimize soil disturbance.
Once harvested, let potatoes cure in the sun for 1-2 hours to toughen their skins before storing in a cool, dark place with good airflow.
Remember that new potatoes (harvested early) will pass the firmness test but fail the other three. These baby spuds are perfect for immediate cooking but won't store well. For long-term storage, always wait for three or more maturity signs before harvesting.
This simple system has helped me go from haphazard harvests to consistently perfect potatoes every season.
Best time of year to harvest potatoes by climate zone
Timing your potato harvest depends heavily on your USDA climate zone and the variety you’re growing. Early potatoes like 'Yukon Gold' mature in 70-90 days, while late varieties such as 'Russet' take 100-120 days.
In colder zones, frost sensitivity becomes critical—harvest too late, and your tubers will rot in the ground.
Short-season gardeners in USDA zones 3-5 must prioritize early-maturing varieties and plan harvests before the first frost. Meanwhile, gardeners in zones 8-10 can extend harvests into fall, but watch for soil temperatures dropping below 50°F, which signals it’s time to dig.
Here’s a quick reference for when to harvest potatoes by zone, including adjustments for short vs. long growing seasons:
| Zone | Early Varieties | Late Varieties | Key Harvest Window | Frost Risk |
|---|---|---|---|---|
| 3-5 | 60-80 days | 90-100 days | Mid-July to early August | High (harvest before last frost) |
| 6-7 | 70-90 days | 100-110 days | Late July to September | Moderate (extend into fall) |
| 8-10 | 80-100 days | 110-120 days | August to October | Low (harvest before soil cools) |
For short-season zones (3-5), focus on early varieties like 'Red Norland' or 'Kennebec', which mature quickly and tolerate cooler soils. In longer seasons (8-10), you can stagger plantings for continuous harvests—start with early varieties in spring and follow with late types like 'Idaho Russet'.
Watch for foliage yellowing and stem browning, classic signs of maturity. In zones with mild winters, you can even harvest a second crop in late fall by planting late-maturing varieties after your first harvest. Just ensure soil temps stay above 50°F to prevent tuber rot.
Pro tip: In zones 6-7, if frost threatens before your late potatoes are ready, cover plants with row fabric to extend the season by 2-3 weeks. Always cure harvested potatoes in a dark, dry place for 1-2 weeks to develop their skin and improve storage life.