
Picking
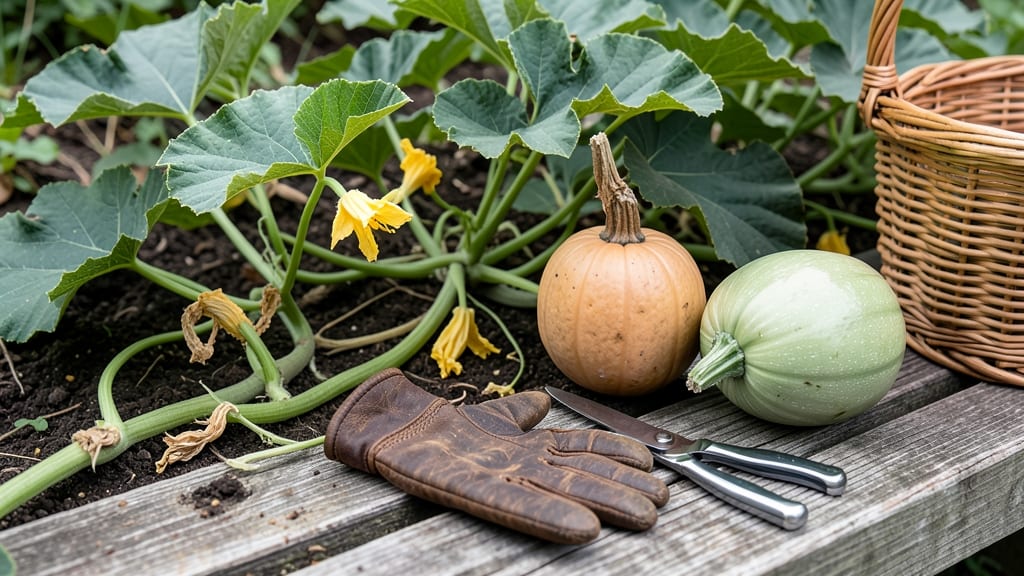
Picking butternut squash from your garden at the right time means the difference between sweet, tender flesh and a tough, flavorless mess — and there are three simple touch tests that take the guesswork out of it.
Picture this: you’ve waited months for your 🎃 to mature, only to slice into one that’s still mealy or so hard it might be a doorstop. That’s the frustration I’m here to help you avoid.
Most gardeners know to wait until late September or October, but the real secret lies in the skin’s hardness, the stem’s dryness, and how heavy the fruit feels in your hand. These cues don’t lie — and they’re easier to spot than you think.
Below, I’ll walk you through each test step by step, plus what to do if your squash is still underripe or already overripe. No more second-guessing at harvest time.
3 Touch tests to determine butternut squash ripeness
Butternut squash is one of those rewarding garden crops where timing makes all the difference. Picking too early means watery, underdeveloped flesh, while waiting too long can lead to overripe squash that spoils quickly.
The good news? You don’t need fancy tools—just your hands and a little practice. These three simple touch tests will help you identify the perfect moment to harvest for maximum sweetness and texture.
First, let’s talk about the skin hardness test, which is often the most reliable indicator. Unlike other squash varieties, butternut squash develops a thick, hard rind when fully mature. This isn’t just about color—it’s about resistance.
When you gently press your fingernail into the skin, it should leave no mark or only a faint indentation. If it dents easily, the squash needs more time on the vine.
Next up is the stem firmness test, a visual and tactile cue that’s easy to overlook. As butternut squash ripens, the vine stem where the fruit attaches will dry out and become brittle.
Give it a gentle twist—if it snaps cleanly with minimal resistance, that’s a sign it’s ready. A green, flexible stem means the squash still has time to mature. This test is especially useful in humid climates, where overripe squash can rot on the vine if left too long.
The third test is all about weight and density. A ripe butternut squash should feel surprisingly heavy for its size. Think of it like comparing two similar-sized squash: one feels light and hollow, while the other is solid and dense.
You can also give it a gentle tap—if it sounds thud-like (not hollow), it’s ready. This test is particularly useful when squash are hidden under vines or leaves, as you can assess ripeness without seeing them clearly.
One common mistake I see is relying only on color to determine ripeness. While butternut squash do turn a tan or beige hue as they mature, color alone isn’t enough. Some varieties stay green longer, and others develop patchy coloring due to sunlight exposure.
That’s why the touch tests are so valuable—they give you consistent, actionable feedback regardless of the squash’s appearance.
If you’re harvesting in cooler climates, you might notice squash ripening faster due to shorter daylight hours. In these cases, I recommend checking the stem first, as it often shows signs of dryness before the skin hardens completely.
Conversely, in hot, dry conditions, squash can harden prematurely, so combine all three tests for accuracy. Pay attention to the leaves nearby too—yellowing or dying back is another sign it’s time to harvest.
Once you’ve confirmed ripeness, use a sharp knife or pruning shears to cut the squash from the vine, leaving about 1-2 inches of stem attached. This helps prevent rot during storage.
After harvesting, let the squash cure in a dry, shaded spot for 7-10 days to further harden the skin and develop flavor. Avoid washing until you’re ready to store or cook, as moisture can encourage spoilage.
Practicing these tests will make you a butternut squash pro in no time. The more you handle them, the more intuitive it becomes—you’ll start recognizing the perfect texture just by touch.
And trust me, there’s nothing like the sweet, nutty flavor of a properly ripened butternut squash straight from your garden.
Pro tip: If you’re unsure, harvest a few squash at slightly different stages and taste-test them. This hands-on approach will sharpen your skills faster than any rulebook. Happy harvesting! 🎃
How long butternut squash stays fresh after harvesting
Once you’ve harvested your butternut squash at peak ripeness, proper storage is key to preserving that sweet, nutty flavor. With the right conditions, your squash can stay fresh for 2-3 months—or even longer—without spoiling. The secret lies in controlling temperature, humidity, and air circulation.
Unlike many fruits, butternut squash doesn’t ripen further after picking, so timing your harvest correctly is just as important as storing it well. A well-stored squash maintains its firm texture and rich flavor, making it perfect for roasting, soups, or baking months after harvest season.
Here’s how to maximize freshness with a simple storage guide:
| Storage Method | Lifespan | Best For | Tips |
|---|---|---|---|
| Cool, Dry Place (50-55°F) | 2-3 months | Short-term storage | Keep in a dark pantry or basement with 60% humidity. |
| Refrigerator (32-40°F) | 1-2 months | Longer storage | Store in plastic bag with holes for airflow; avoid moisture buildup. |
| Freezer (-0°F) | Up to 1 year | Extended use | Cut, seed, and blanch for 2-3 minutes before freezing in airtight bags. |
| Cured & Stored (55-60°F) | 3-6 months | Commercial storage | Let squash cure for 10 days in warm, dry conditions before storing. |
Temperature is the most critical factor—butternut squash thrives in cool, dry conditions between 50-55°F. Avoid refrigerating whole squash until necessary, as cold temperatures can cause chilling injuries like soft spots or off-flavors. Instead, opt for a well-ventilated area like a pantry or root cellar.
Watch for signs of spoilage like soft spots, mold growth, or a musty smell. These indicate your squash is past its prime. If stored properly, the skin should remain hard and unblemished, and the stem should stay slightly dry but intact.
Discard any squash showing these red flags to prevent contamination.
For the longest shelf life, combine proper storage with regular inspections. Rotate your stock by using the oldest squash first, and always handle them gently to avoid bruising. With these tips, you’ll enjoy homegrown butternut squash long after the growing season ends! 🎃