
Picking
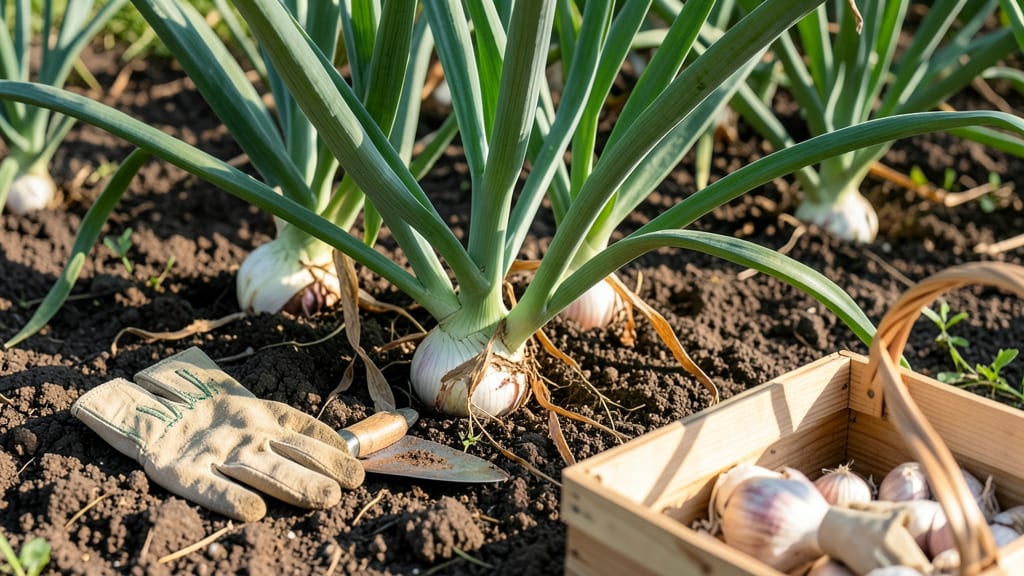
Picking garlic from your garden at the right time ensures bold flavor and a bountiful harvest 🧄 — and missing the window by even a week can shrink your yield or dull the taste.
Picture this: you’ve nurtured your garlic all season, only to dig up bulbs that are either too small or already sprouting. That’s why timing is everything, and the secret lies in watching for those telltale signs—like when half the leaves turn brown but the rest stay green.
In this guide, I’ll walk you through the exact cues to harvest scapes (those curly stems) and bulbs, plus how climate and regional differences can shift your schedule. You’ll also learn how to cure and store your garlic so it stays fresh until next year.
Whether you’re a first-time grower or a seasoned gardener, these tips will help you avoid common mistakes and maximize your harvest—so you can enjoy homegrown garlic all winter long.


How to harvest garlic scapes for maximum flavor and yield
Harvesting garlic scapes at the right time isn’t just about getting an early snack—it’s a game-changer for your bulb size and overall yield.
These curly green stems appear in late spring, typically 6-8 weeks after planting, and removing them redirects the plant’s energy back into the garlic bulb below ground. If left unharvested, scapes can weaken the bulb, leading to smaller cloves.
I’ve found that cutting them at the perfect moment can boost bulb size by up to 30%—worth the effort!
The key is watching for visual cues like tightly curled scapes and a length of about 12-18 inches. Hardneck varieties (like Rocky Mountain or Music) produce scapes earlier than softneck types, so timing varies slightly.
For me, the best time to harvest is when the scape curls into a perfect loop—this usually happens in late May to early June, depending on your climate zone. Missing this window means you’ll either get a smaller bulb or a scape that’s too woody to enjoy.
Here’s what you need to know before you grab your pruners: harvesting scapes won’t kill your garlic plant, but doing it too early or too late can backfire. For example, cutting scapes when they’re still straight or waiting until they’ve fully hardened can both reduce your harvest quality.
The goal is to strike that sweet spot where the scape is fully curled but still tender. Let’s break down the exact steps to do it right.
When to Harvest Garlic Scapes: Step-by-Step Guide
-
Step 1: Wait for the Curl
Harvest scapes only when they form a tight loop (usually 12-18 inches long). Straight or partially curled scapes aren’t ready yet. -
Step 2: Use Clean Pruners
Snip the scape 1-2 inches above the top bulb with sterilized pruners to avoid disease. Never pull or tear the stem—this damages the plant. -
Step 3: Time It Right
For hardneck varieties, harvest scapes in late May to early June. Softneck varieties may take 1-2 weeks longer—watch for their curl first. -
Step 4: Enjoy or Preserve
Use scapes fresh in salads, sautéed dishes, or fermented garlic. To store, wrap in a damp paper towel and refrigerate for up to 2 weeks. -
Step 5: Boost Bulb Growth
After cutting, the plant will send 30-50% more energy to the bulb. Keep watering and fertilizing lightly to maximize size before harvest season.
Once you’ve harvested your scapes, you might be wondering what to do with them. I love using them in pesto or stir-fries—they add a milder, sweeter flavor than mature garlic. But if you’re focused on the main event (the garlic bulbs), this is where the real magic happens.
Removing the scapes ensures the plant doesn’t waste energy producing seeds, so all its resources go into growing those plump, flavorful cloves you’re craving. It’s like giving your garlic plant a little nudge to say, “Hey, focus on the prize below!”
Pro tip: If you’re growing multiple garlic varieties, keep a small notebook to track when each one produces scapes. For example, German White (a hardneck) might curl in early May, while Silverskin (a softneck) could wait until mid-June.
This attention to detail pays off when harvest time rolls around, and you’re rewarded with uniformly large bulbs. I’ve seen gardens where scapes were ignored, and the bulbs ended up half the size of those where scapes were harvested on time.
After cutting the scapes, resist the urge to over-fertilize or overwater your garlic. The plant is already redirecting its energy, and too much nitrogen now can lead to leafy growth at the expense of bulb development.
Instead, focus on moderate watering (about 1 inch per week) and a light application of potassium-rich fertilizer to support root and bulb growth. This is the time to let your garlic rest and mature—no extra stress!
One common mistake I see is waiting too long to harvest scapes because the gardener thinks the plant “needs them.” But scapes are non-essential for the garlic’s survival—they’re just a bonus for us. The plant will keep growing strong without them, and your bulbs will thank you later.
If you’re unsure whether your scapes are ready, do the finger test: gently press the curl. If it springs back, it’s still too young. If it stays curled, it’s harvest time.
Harvesting scapes also gives you a head start on your garlic harvest timeline. By removing them early, you’re essentially accelerating bulb maturity by a few weeks. This is especially useful if you’re in a shorter growing season or want to harvest before summer heat sets in.
I’ve found that scape-harvested garlic often matures just in time for late June to early July harvests, which is ideal for avoiding fungal issues that come with hot, humid weather.
Finally, don’t forget that garlic scapes are edible and packed with flavor. They’re a great way to extend your harvest season and add a unique taste to your dishes.
Whether you’re a seasoned gardener or a beginner, mastering the art of scape harvesting is a skill that will elevate your garlic crop every year. Next time you see those curly green stems popping up, grab your pruners and get ready to boost your harvest!
🌱
When to dig garlic bulbs: the 50% brown leaf rule explained
Harvesting garlic at the right time ensures flavorful, well-developed bulbs that store beautifully. The 50% brown leaf rule is my go-to method for determining when garlic is ready to dig. This simple visual cue helps avoid common mistakes like harvesting too early (small bulbs) or too late (shriveled cloves).
Garlic planted in fall (October-November) typically matures in late June or early July, while spring-planted garlic may take until early August. Regional variations matter—cooler climates like USDA Zone 5 may need an extra week, while warmer zones like Zone 8 could be ready sooner.
Here’s the key: when about half of the leaves turn brown and papery, while the top half remains green, it’s time to harvest. This balance signals the bulbs have fully developed but haven’t yet started to dry out in the soil.
⚠️ Warning: Don’t Wait Too Long!
If you harvest garlic when more than 50% of leaves are brown, the bulbs may shrink and lose flavor. Overripe garlic also sprouts prematurely in storage. Conversely, digging too early (less than 30% brown leaves) results in small, underdeveloped bulbs that won’t store well.
To test bulb readiness, gently lift a few plants and check the size. A ready bulb should feel firm and plump, with tight, papery skin. If the bulb feels soft or loose, wait another week.
This hands-on check is especially useful in variable climates where weather can delay or speed up maturity.
Weather plays a critical role—hot, dry spells can accelerate leaf browning, while cool, wet springs may slow it down. In my garden, I’ve found that mild summers (like in Zone 7) often align perfectly with the 50% rule, but heatwaves can push harvest dates earlier.
Always monitor your plants closely.
Once you’ve confirmed readiness, dig bulbs on a dry, sunny day to prevent disease. Cure them in a shady, well-ventilated spot for 2–4 weeks before storing. Proper timing now means longer storage life and richer flavor later—worth the patience! 🧄