
Tools
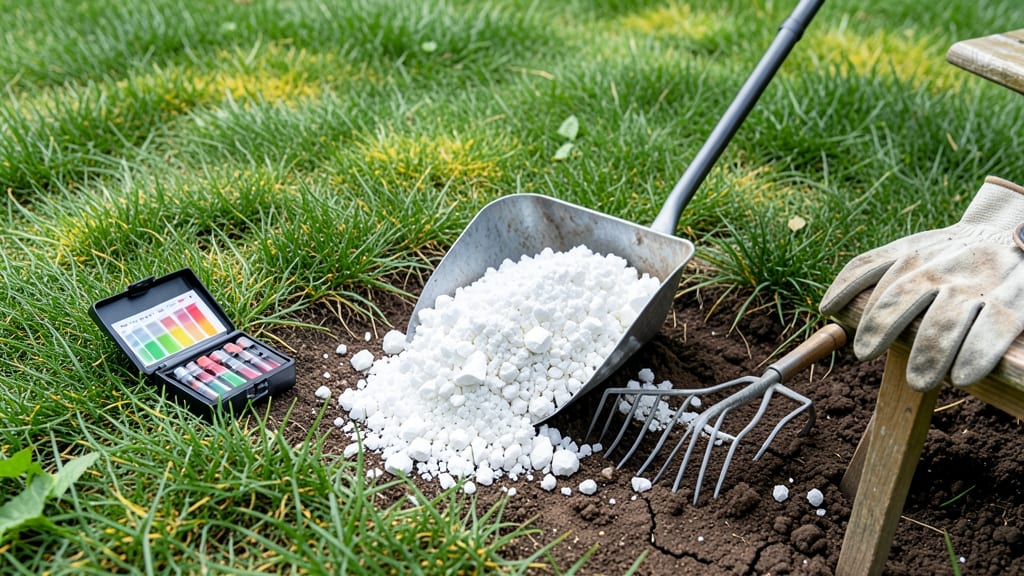
To put lime in your garden when the soil pH test reveals acidity is the key to unlocking healthier plants and better yields 🌱.
Struggling with acidic soil? Adding lime at the wrong time can backfire—worsening nutrient absorption and plant health. The best window to apply lime depends on your soil test results and crop needs, and spring is the perfect time to act before planting season peaks.
In USDA Zone 6a, where frost lingers until mid-April, early spring (March–April) is ideal for spreading lime. This gives it time to work into the soil before seeds sprout or transplants go in, ensuring roots get the pH balance they need from day one.
Below, I’ll walk you through how to read your soil test, why timing matters, and how to apply lime without overdoing it—so you avoid the common mistakes that leave gardens struggling even after liming.
Optimal timing for lime application based on soil pH levels
Your soil pH test results are the roadmap for when to put lime in your garden. If your soil reads below 6.5, lime becomes your best ally—but timing is everything. Applying lime in early spring (March-April) gives soil microbes months to adjust pH before planting season kicks off.
This is especially critical for vegetable gardens and flower beds, where nutrient availability directly impacts yield and blooms.
For acid-loving plants like blueberries or azaleas, lime is rarely needed. But for most vegetables and lawns, a pH between 6.0 and 7.0 is ideal. If your test shows pH 5.5 or lower, act fast—lime takes 2-3 months to fully neutralize acidity.
Waiting until summer means risking burned roots or wasted effort before your next planting.
Pelletized lime dissolves slower than granular lime, making it ideal for fall applications (September-October). Granular lime works faster—perfect for spring pre-planting. Always apply lime 3-4 months before planting to avoid disrupting root systems. For example, if you’re planting tomatoes in May, apply lime in February.
Regional climate plays a role too. In warmer climates (USDA Zones 8-10), lime can be applied year-round with light rain to activate it. But in colder zones (Zones 3-6), stick to spring or fall to avoid winter freeze-thaw cycles locking lime into the soil.
For example, in Zone 5, apply lime in April or October—never in January.
Over-liming is a common mistake. If your soil pH is already above 7.0, skip lime entirely—it can make nutrients like iron and manganese unavailable. Always re-test soil 6 months after applying lime to confirm pH shifts.
For sandy soils, lime may wash away faster, requiring additional applications every 1–2 years.
For container gardens, use pelletized lime mixed into the soil at planting. The key is even distribution: spread lime with a broadcast spreader and water it in immediately. Avoid piling lime near plant roots—it can burn tender roots before pH adjustments occur.
Pro tip: Mark your lime application calendar with your last frost date. If your frost date is April 15, aim to apply lime by January 15 for full effectiveness. For lawns, lime in early spring promotes deep root growth before summer stress sets in.
Remember, lime isn’t a quick fix. It’s a long-term soil investment. By following your soil test results and applying lime at the right time, you’ll create the perfect growing conditions for your vegetables, flowers, and lawn—without the guesswork.
Spring vs. fall lime application: which works best for your garden?
Deciding when to apply lime to your garden can feel like a guessing game, but timing matters more than you think. Spring application gives you quick results before planting season, while fall application offers gradual adjustments.
Your climate and soil type play starring roles in this decision—let’s break down what works best for your specific needs.
If you live in warmer climates (Zones 7-10), fall lime application is ideal because it avoids summer heat stress.
In cooler regions (Zones 3-6), spring application is often better to prevent winter freeze-thaw cycles from locking lime out of reach. Soil tests are your best friend here—knowing your exact pH levels helps you choose the right timing.
Spring Lime Application
Pros
- Fast-acting for spring planting
- Works well in cooler climates
- Prevents nutrient lockout before growing season
Cons
- Risk of over-liming if soil is already neutral
- Less effective in hot, dry summers
- Requires soil testing before application
Fall Lime Application
Pros
- Gradual pH adjustment over winter
- Ideal for warmer climates
- Reduces winter erosion risks
Cons
- Results may take months to appear
- Less effective for spring-planted crops
- Requires early fall timing for best results
For vegetable gardens, spring lime application is often the winner because it gives roots time to absorb calcium before the growing rush. Perennial plants, however, benefit more from fall application since their roots are already established and can handle gradual changes. Lawns also respond well to fall lime because it prepares the soil for winter dormancy.
If you’re growing acid-loving plants like blueberries or azaleas, skip lime entirely—they thrive in acidic soil (pH 4.5-5.5). But for most vegetables, flowers, and lawns, aim for a pH of 6.0-7.0.
A quick soil test in early spring will tell you whether to apply lime now or wait until fall.
Pro tip: Pelletized lime works faster than granular lime, making it a great choice for spring applications. For fall, dolomitic lime adds magnesium, which benefits soil structure over time. Always water in lime after application to activate its effects—don’t let it sit dry on the soil surface.
Remember, over-liming is worse than under-liming. Start with half the recommended dose, wait 2-3 months, and retest your soil before reapplying. Your plants—and your future harvests—will thank you for the patience! 🌱