
How To
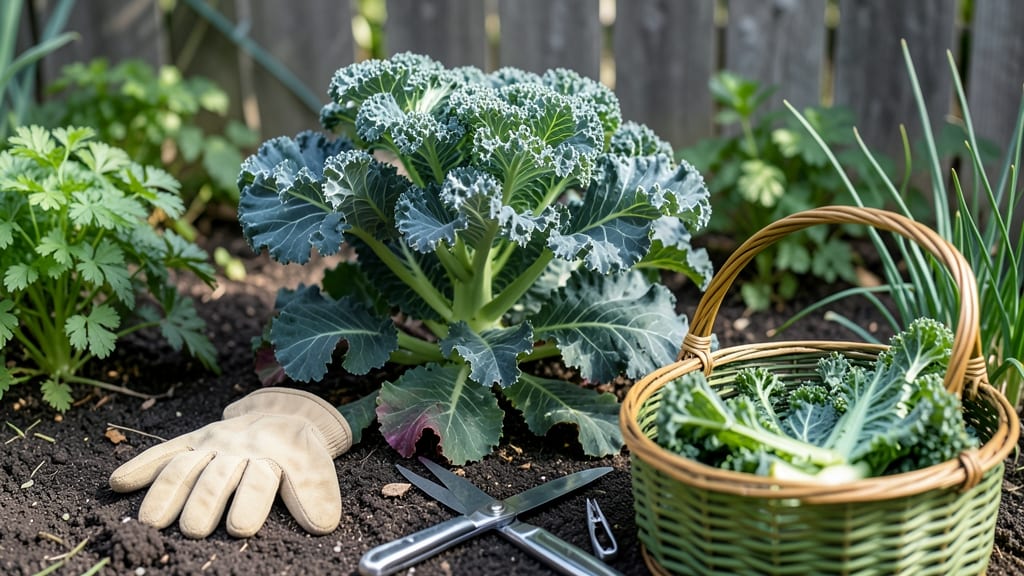
To pick kale from your garden properly, focus on harvesting outer leaves first while leaving the inner growth intact—this keeps your 🥬 plants producing for weeks.
Picture this: you’ve nurtured your kale through frost and heat, only to rush harvest time and end up with bitter, tough leaves or a plant that bolts too soon. The right technique makes all the difference between a bountiful fall harvest and a disappointing one.
Kale thrives when you time your cuts just right—young leaves stay tender, while mature ones pack more flavor. But there’s more to it than just grabbing a pair of scissors. The way you snip (or don’t snip) determines whether your plants bounce back or fade out.
In this guide, I’ll walk you through when to harvest, how to avoid damaging stems, and pro tips to store your fresh picks so they stay crisp longer. Let’s turn your garden into a kale powerhouse!


When and how to harvest kale for maximum flavor and growth
Harvesting kale at the right time transforms your garden into a flavor factory. The key is patience—waiting for leaves to reach their ideal size (6-8 inches) ensures maximum sweetness and texture. Young leaves are tender, while mature ones develop a slightly bitter edge that mellows with frost.
Understanding these stages helps you balance harvests without sacrificing plant health.
Seasonal timing matters too. Spring and fall offer the best harvest windows in most climates, but cold-hardy varieties like Winterbor or Red Russian can thrive through winter. Avoid harvesting during extreme heat or drought, as stressed plants produce tough, bitter leaves.
Even light frosts can sweeten kale, making it perfect for late-season harvests.
Here’s how to identify the perfect harvest window for your kale plants:
| Stage | Leaf Size | Texture | Best Time to Harvest | Seasonal Notes |
|---|---|---|---|---|
| Early Growth | 3-5 inches | Tender, delicate | Light harvest (1-2 leaves) | Spring/summer, avoid heavy picking |
| Optimal Harvest | 6-8 inches | Firm, crisp | Regular harvest (outer leaves) | Fall/winter, post-frost for sweetness |
| Over-Mature | 10+ inches | Woody, bitter | Avoid or harvest for cooking | Late summer, high heat stress |
Always prioritize outer leaves first—they’re the most mature and won’t stunt the plant’s growth. Use clean, sharp pruning shears or a knife to cut leaves 1 inch above the stem.
This prevents damage and encourages new growth from the center. Never pull leaves or tear them, as this can expose the plant to pests and disease.
Weather plays a surprising role in kale’s flavor. Light frosts (28-32°F) actually improve sweetness by converting starches to sugars—a natural process called cold hardening.
For year-round gardens, plant multiple varieties with staggered harvest times. Lacinato (Dinosaur) kale, for example, matures slower than Red Russian, giving you a longer harvest window.
Pro tip: Harvest in the morning after dew dries for the crispest leaves. Avoid harvesting after rain, as wet leaves bruise easily and attract pests.
If your kale bolts (sends up a flower stalk), harvest all remaining leaves immediately—they’ll turn bitter and tough as the plant shifts energy to seed production.
For continuous harvests, space plants 12-18 inches apart and thin seedlings to the strongest stems. This ensures airflow and reduces disease risk. Dwarf varieties like Dwarf Blue Curled are ideal for containers and small gardens, while tall varieties (like Vates) need more space.
Always leave at least 3-4 inner leaves intact to keep the plant producing.
Seasonal adjustments are key. In hot climates, provide afternoon shade to prevent bolting. In cold regions, use row covers to extend the harvest season. Succession planting every 2-3 weeks ensures a steady supply, whether you’re growing for salads, smoothies, or sautéed sides.
Remember: The more you harvest correctly, the more your kale plants will reward you with larger, sweeter leaves. With the right timing and technique, you’ll enjoy homegrown kale for months—even through winter’s chill. 🥬
Step-by-step guide to picking kale without damaging the plant
Harvesting kale the right way keeps your plants healthy and productive while giving you the freshest, most flavorful leaves. The key is to cut leaves properly—never rip them—and to focus on the outer leaves first.
This method encourages new growth and prevents stress on the plant. I’ve learned that even small mistakes, like using dull tools or over-harvesting, can set back your kale’s production for weeks.
Before you start, gather your harvesting tools and check the weather. A dry, cool day is ideal because wet leaves can tear easily, and hot sun can wilt freshly cut kale. I always use a sharp pair of pruning shears or a clean knife—never your fingers—to avoid crushing the stems.
This simple step makes all the difference in keeping your kale looking its best after harvest.
How to Pick Kale Without Damaging the Plant
- Step 1: Choose the right leaves Select the outer leaves first—they’re mature and ready to harvest. Look for leaves that are 6-8 inches long and deep green or purple, depending on your variety.
- Step 2: Use sharp tools Grab your pruning shears or clean knife and hold the leaf stem about 1 inch above the base. This prevents damage to the growing point.
- Step 3: Cut at a 45-degree angle Make a clean cut at a slight angle to avoid tearing. This also helps water run off the stem, reducing rot risk.
- Step 4: Leave the inner leaves Never harvest more than 1/3 of the plant at once. The inner leaves will continue growing, giving you multiple harvests over time.
- Step 5: Avoid over-harvesting Wait 2-3 weeks between harvests to let the plant recover. Over-picking can weaken stems and reduce future yields.
- Step 6: Store properly Rinse leaves gently with water and pat dry. Store in a perforated plastic bag in the fridge for up to 5 days or freeze for longer storage.
One common mistake I see is pulling leaves instead of cutting them. This can uproot the plant or damage the stem, leading to rot or pests. Always cut leaves at the base—never tear them—and you’ll keep your kale thriving for months.
I also recommend harvesting in the morning when leaves are crispest and most flavorful.
If your kale starts to bolt (send up a flower stalk), it’s time to harvest everything at once. Bolting makes leaves bitter and woody, but you can still enjoy them in smoothies or sautéed dishes.
Just be sure to cut the entire plant at the base to prevent reseeding, unless you’re saving seeds for next year.
For year-round harvesting, choose cold-hardy varieties like Winterbor or Red Russian. These types can withstand frost and even taste sweeter after a light freeze. Just remember to harvest before hard freezes (below 20°F) to protect the plant’s health.
With these steps, you’ll enjoy a steady supply of fresh kale all season long—without stressing your plants. Happy harvesting! 🥬✂️