
Picking
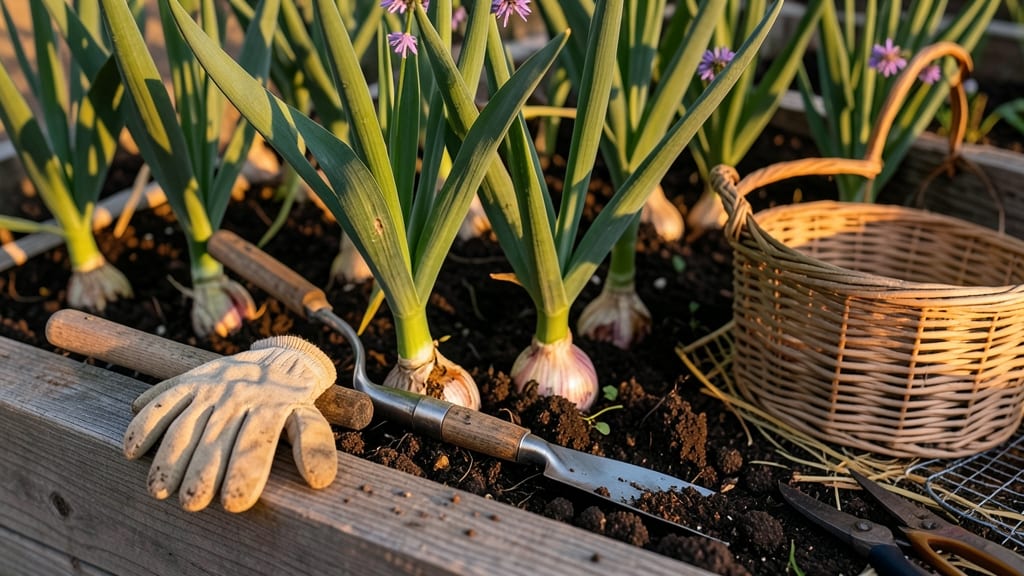
Harvesting onions from the garden at the right time ensures sweet, flavorful bulbs instead of tough, pungent ones—here’s how to know when they’re perfectly ripe.
Picture this: you’ve spent weeks nurturing your 🧅 onions, and now the moment of truth arrives. Pull one too soon, and you’ll end up with small, watery bulbs.
Wait too long, and they’ll split or turn bitter. The secret? Mastering the four simple leaf tests that reveal when your onions are ready to harvest.
From the moment the tops yellow and flop over to the telltale dryness of the bulb’s neck, these visual cues are your roadmap to success. Whether you’re in USDA Zone 6a or another region, timing is everything—and missing it means sacrificing flavor for frustration.
In this guide, I’ll walk you through the exact signs to watch for, regional adjustments for your climate, and the best post-harvest steps to keep your onions fresh for months. No more guesswork—just perfect, homegrown harvests every time.


How to tell when onions are ready to harvest using 4 key leaf tests
Harvesting onions at the perfect moment transforms your garden into a flavor powerhouse. The key lies in understanding your onion plants' subtle signals—especially through their leaves. Unlike many vegetables, onions don't give obvious color changes like tomatoes or zucchini.
Instead, they communicate readiness through leaf color shifts, bulb size, and neck drying. Mastering these four leaf tests ensures you harvest sweet, pungent bulbs instead of tough, overgrown ones that spoil quickly.
I've learned the hard way that harvesting too early means puny bulbs, while waiting too long results in split skins and bitter flavors. The solution? Pay attention to these four visual cues that indicate your onions are primed for picking.
These tests work for all onion varieties—whether you're growing yellow, red, or sweet onions—because they focus on the plant's natural maturation process rather than specific types.
Here's where things get practical: you'll need to examine three key areas of your onion plants—the top growth, the leaf color, and the bulb size—while also checking for neck drying.
The comparison table below breaks down exactly what to look for at each stage, with visual descriptions to help you make accurate judgments even if you're new to onion growing.
| Test | Not Ready | Perfectly Ready | Overripe |
|---|---|---|---|
| Top Growth | 🟢 Upright, green, growing | 🟡 Yellowing, flopping over | 🟤 Brown, crispy, fallen |
| Leaf Color | Bright green | Dull yellow-green | Brown, dry |
| Bulb Size | <1 inch diameter | 1-2 inches diameter | >2 inches, splitting |
| Neck Dryness | Green, moist | ½-inch thick, papery | Dry, shriveled |
The first test focuses on your onion's top growth. When the green tops start yellowing and flopping over, that's nature's signal to harvest. I notice this change most dramatically in the late afternoon when the sunlight hits the plants at an angle.
For example, my red onions often show this yellowing first, while yellow varieties take a few days longer to signal readiness.
Next, examine the leaf color along the entire stem. Ready-to-harvest onions develop a dull yellow-green hue rather than vibrant green. Run your fingers gently along the leaves—if they feel slightly papery at the base, that's another good sign.
I always check this after watering in the morning when the leaves are fully hydrated for the most accurate reading.
Bulb size is the third critical test. Gently loosen the soil around your onions to check their diameter. Perfectly ready onions measure between 1-2 inches across. Anything smaller won't store well, and larger bulbs often split during harvest.
Pro tip: use a ruler or your thumb (about 1 inch wide) as a quick reference when checking multiple plants in your garden.
The final test involves the neck drying process. The stem connecting the bulb to the leaves should be about ½-inch thick and feel dry to the touch. This neck acts like a natural barrier that protects the bulb during storage.
If you harvest before this neck dries, your onions won't cure properly and will spoil faster. I've found that morning harvests work best because the stems are more likely to be dry after overnight drying.
Timing matters too—harvest onions on a dry, sunny day between 10 AM and 2 PM. This gives the bulbs time to dry naturally before storage. I always pull onions carefully by their tops rather than digging to avoid damaging the skins.
After harvesting, let them cure in a dry, shaded area for 2-3 days before storing to develop their full flavor potential.
Remember that regional climate affects timing slightly. In cooler zones (like mine in Zone 5), onions mature more slowly and may need an extra week compared to warmer climates.
Pay attention to your local frost dates too—if freezing temperatures approach before your onions are ready, harvest them anyway and store them in a cool, dark place for immediate use.
One common mistake I see is waiting until the tops are completely brown and crispy. While this might seem like the perfect time, those onions are actually overripe and will have lost much of their sweetness.
The ideal moment is when the tops are just starting to yellow and flop—this gives you that perfect balance of flavor and storage life.
With these four leaf tests mastered, you'll never second-guess your onion harvest timing again. The key is consistency—check your plants weekly during the growing season and use these visual cues as your guide.
Soon, you'll be harvesting onions at their peak flavor, ready to enjoy fresh or store for months ahead.
Top mistakes that ruin onion harvests (and how to avoid them)
Harvesting onions at the wrong time can turn your hard work into bitter, pungent disappointment. Over-mature onions develop tough skins and sharp flavors, while underripe bulbs stay small and stringy. Even with perfect growing conditions, these common mistakes can ruin your harvest before you even pick them up.
I’ve learned the hard way that timing is everything—whether it’s waiting too long for bulbs to dry or pulling them too soon when they’re still tender. The good news?
Most of these mistakes are easy to avoid once you know what to watch for. Let’s break down the biggest pitfalls and how to sidestep them.
Onions need 100-120 days to mature. Harvesting too early (90 days) results in small, weak bulbs. Waiting too long (140+ days) causes tops to rot and bulbs to split. Always check for yellowing tops and papery skins before pulling.
Another critical mistake is improper storage conditions after harvest. Onions need time to cure and dry properly before storage, or they’ll mold within weeks. I once stored freshly dug onions in a damp basement and lost half the harvest to rot.
The fix? Cure them in a dry, shaded area for 2-3 weeks before storing.
Environmental factors like sudden rain or extreme heat can also wreck your harvest. Heavy rain before curing causes neck rot, while scorching summer sun can burn bulbs before they’re ready. Mulch your onions with straw to protect them from moisture swings and uneven temperatures.
Don’t forget about soil and spacing issues. Overcrowded onions compete for nutrients, leading to small, weak bulbs. Space them 4-6 inches apart in rows 12-18 inches apart.
Poor soil drainage? Onions will rot before they mature. Amend your soil with compost and ensure it drains well to avoid soggy, unusable harvests.
Finally, harvesting method matters. Use a garden fork to loosen soil gently, then grasp the green tops and pull upward. Twisting or cutting bulbs can damage their skins, making them more prone to spoilage. Always leave 1-2 inches of stem attached during harvest to help the bulb dry properly.
With these tips, you’ll avoid the most common onion harvest disasters and enjoy plump, flavorful bulbs all season long. Happy gardening! 🧅