
Picking
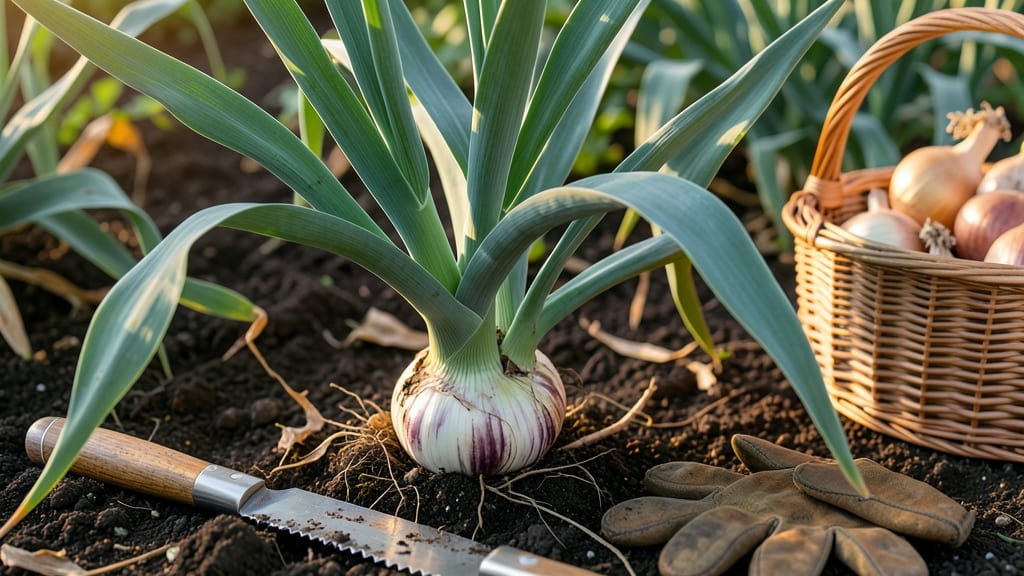
To pick onions from your garden at the perfect moment means capturing peak flavor and storage potential—before they turn tough or rot in the ground.
Picture this: you’ve nurtured your 🧅 plants all season, and now the tops are yellowing while the bulbs feel firm but not yet dry. That’s your sweet spot—but miss it, and you’re left with either papery skins or a bitter bite.
I’ll show you exactly what to look for, so you never harvest too early or too late.
Regional timing matters too. Spring-planted onions in Zone 6a are ready by late summer, while fall varieties need a frost nudge to sweeten. Below, I’ll break down the 3 foolproof signs of readiness, plus how to handle rain, heat, and storage after the pull.
By the end, you’ll know when to yank those onions for fresh eating, which ones to cure for winter, and how to avoid the most common mistakes that turn a great harvest into a disappointment.


3 Telltale signs your onions are ready for harvest
Harvesting onions at the right moment ensures sweet, flavorful bulbs that store well—if you wait too long, they’ll split or rot, and if you pick too early, they’ll taste mild and underdeveloped. The key lies in watching for three distinct visual and physical cues that signal peak ripeness.
Whether you’re growing storage onions or green onions, these signs apply, though timing varies slightly between types.
Storage onions (like Yellow or Red varieties) need time to mature fully, while green onions (scallions) can be harvested multiple times. For storage onions, aim for late summer or early fall, depending on your USDA zone and planting time.
In my zone 6a garden, I start checking for readiness around mid-June for spring plantings and early October for fall varieties. Paying attention to these cues prevents wasted effort and ensures a bountiful harvest.
3 Signs Your Onions Are Harvest-Ready
-
1
Tops Yellow and Flop Over
Mature onions signal readiness when their green tops turn yellow and flop over. This indicates the bulb has redirected energy from leaf growth to bulb development. For green onions, wait until the bottom 2–3 inches of the stalk thickens before snipping. -
2
Neck Shrinks to ½-Inch
The stem (neck) connecting the bulb to the top should shrink to about ½-inch in diameter. This dry, papery neck is nature’s way of sealing the bulb for storage. If the neck is wider, the onion isn’t fully matured—wait another 1–2 weeks for spring plantings. -
3
Skin Turns Dry and Papery
Gently squeeze a bulb—if it feels firm and dry with a papery skin, it’s ready. Wet or soft skin means it’s not mature enough. For storage onions, this dryness is crucial for long-term storage; for green onions, the outer layers can remain slightly tender.
For green onions, the rules are simpler: harvest when the bottom 2–3 inches of the stalk thickens and the bulb is about ½-inch wide. Unlike storage onions, you can snip green onions multiple times throughout the season by cutting just above the soil line, allowing regrowth.
This method works best in cooler months (spring or fall) when growth is slower.
Weather plays a critical role in timing. If rain or humidity is forecasted right before harvest, pull your onions early to prevent rot or mold. In my garden, I always harvest storage onions before the first frost (around October 20 in zone 6a) to avoid damage.
For green onions, a light frost actually sweetens the flavor, so I often wait until after a light freeze for the best taste.
One common mistake I’ve made is waiting too long for onions to mature, only to find them sprouting or splitting in the soil. Overripe onions lose their crisp texture and develop a bitter taste.
To avoid this, I now mark my calendar 6–8 weeks after the tops flop as my final deadline for harvesting storage onions. For green onions, I harvest every 3–4 weeks to encourage continuous growth.
After confirming your onions are ready, use a garden fork to loosen the soil around the bulbs, then gently pull them up. Shake off excess dirt and let them cure in a dry, shaded area for 1–2 weeks before storing.
This curing process toughens the skin, extending shelf life. For green onions, rinse and store in the fridge for up to 2 weeks.
If you’re unsure whether your onions are ready, perform the "squeeze test": grip a bulb firmly. If it feels solid and dry without giving way, it’s harvest-ready.
Soft or squishy bulbs need more time. This simple test has saved me from harvesting premature onions more times than I can count!
Remember, the goal is to balance flavor, texture, and storage potential. Storage onions harvested at the right time can last up to 6 months in a cool, dark place, while green onions are best used fresh.
By mastering these three telltale signs, you’ll transform your onion harvest from guesswork to a reliable, delicious success every season.
Best harvesting methods for storage vs. fresh-use onions
Harvesting onions at the right time ensures maximum flavor and longer storage life. The method you choose depends on whether you're harvesting for fresh use (like green onions) or storage (like yellow or red onions). Let's dive into the best techniques for each.
For green onions, also called scallions, you can harvest them multiple times during the growing season. Simply snip the outer leaves when they reach 6-8 inches tall, leaving the inner leaves to keep growing. This method gives you a steady supply without waiting for full maturity.
For storage onions, timing is critical. You'll want to harvest when the tops yellow and flop over, and the neck shrinks to about ½-inch. This usually happens 100-120 days after planting, depending on your variety and climate.
When to Pick Onions from Garden
✅ Fresh-Use (Green Onions)
- Harvest when 6-8 inches tall
- Snip outer leaves only
- Can harvest multiple times
- No curing needed
✅ Storage Onions
- Wait until tops yellow and flop
- Neck shrinks to ½-inch
- Skin is papery and dry
- Requires 2-3 week curing
⚠️ Mistakes to Avoid
- Harvesting too early (small bulbs)
- Pulling when skin is soft
- Storing uncured onions
- Using dull tools (tears bulbs)
To harvest storage onions, use a sharp knife or garden fork to loosen the soil around the bulb. Gently lift the onion, making sure to keep the dry outer layers intact. Avoid using scissors or shears as they can damage the bulb and reduce storage life.
After harvesting, lay onions in a single layer in a dry, shaded area for 2-3 weeks to cure. This process dries the outer skin and hardens the bulb, making them last longer in storage. Store cured onions in a cool, dark place with good air circulation.
For fresh use, you can simply rinse and store green onions in the fridge for up to 2 weeks. For long-term storage, braid the green tops together and hang them in a cool, dry place for a few weeks.
This method preserves their freshness and flavor for months.